To connect Definite to Posthog using S3, you need the following:Documentation Index
Fetch the complete documentation index at: https://docs.definite.app/llms.txt
Use this file to discover all available pages before exploring further.
- AWS S3 account
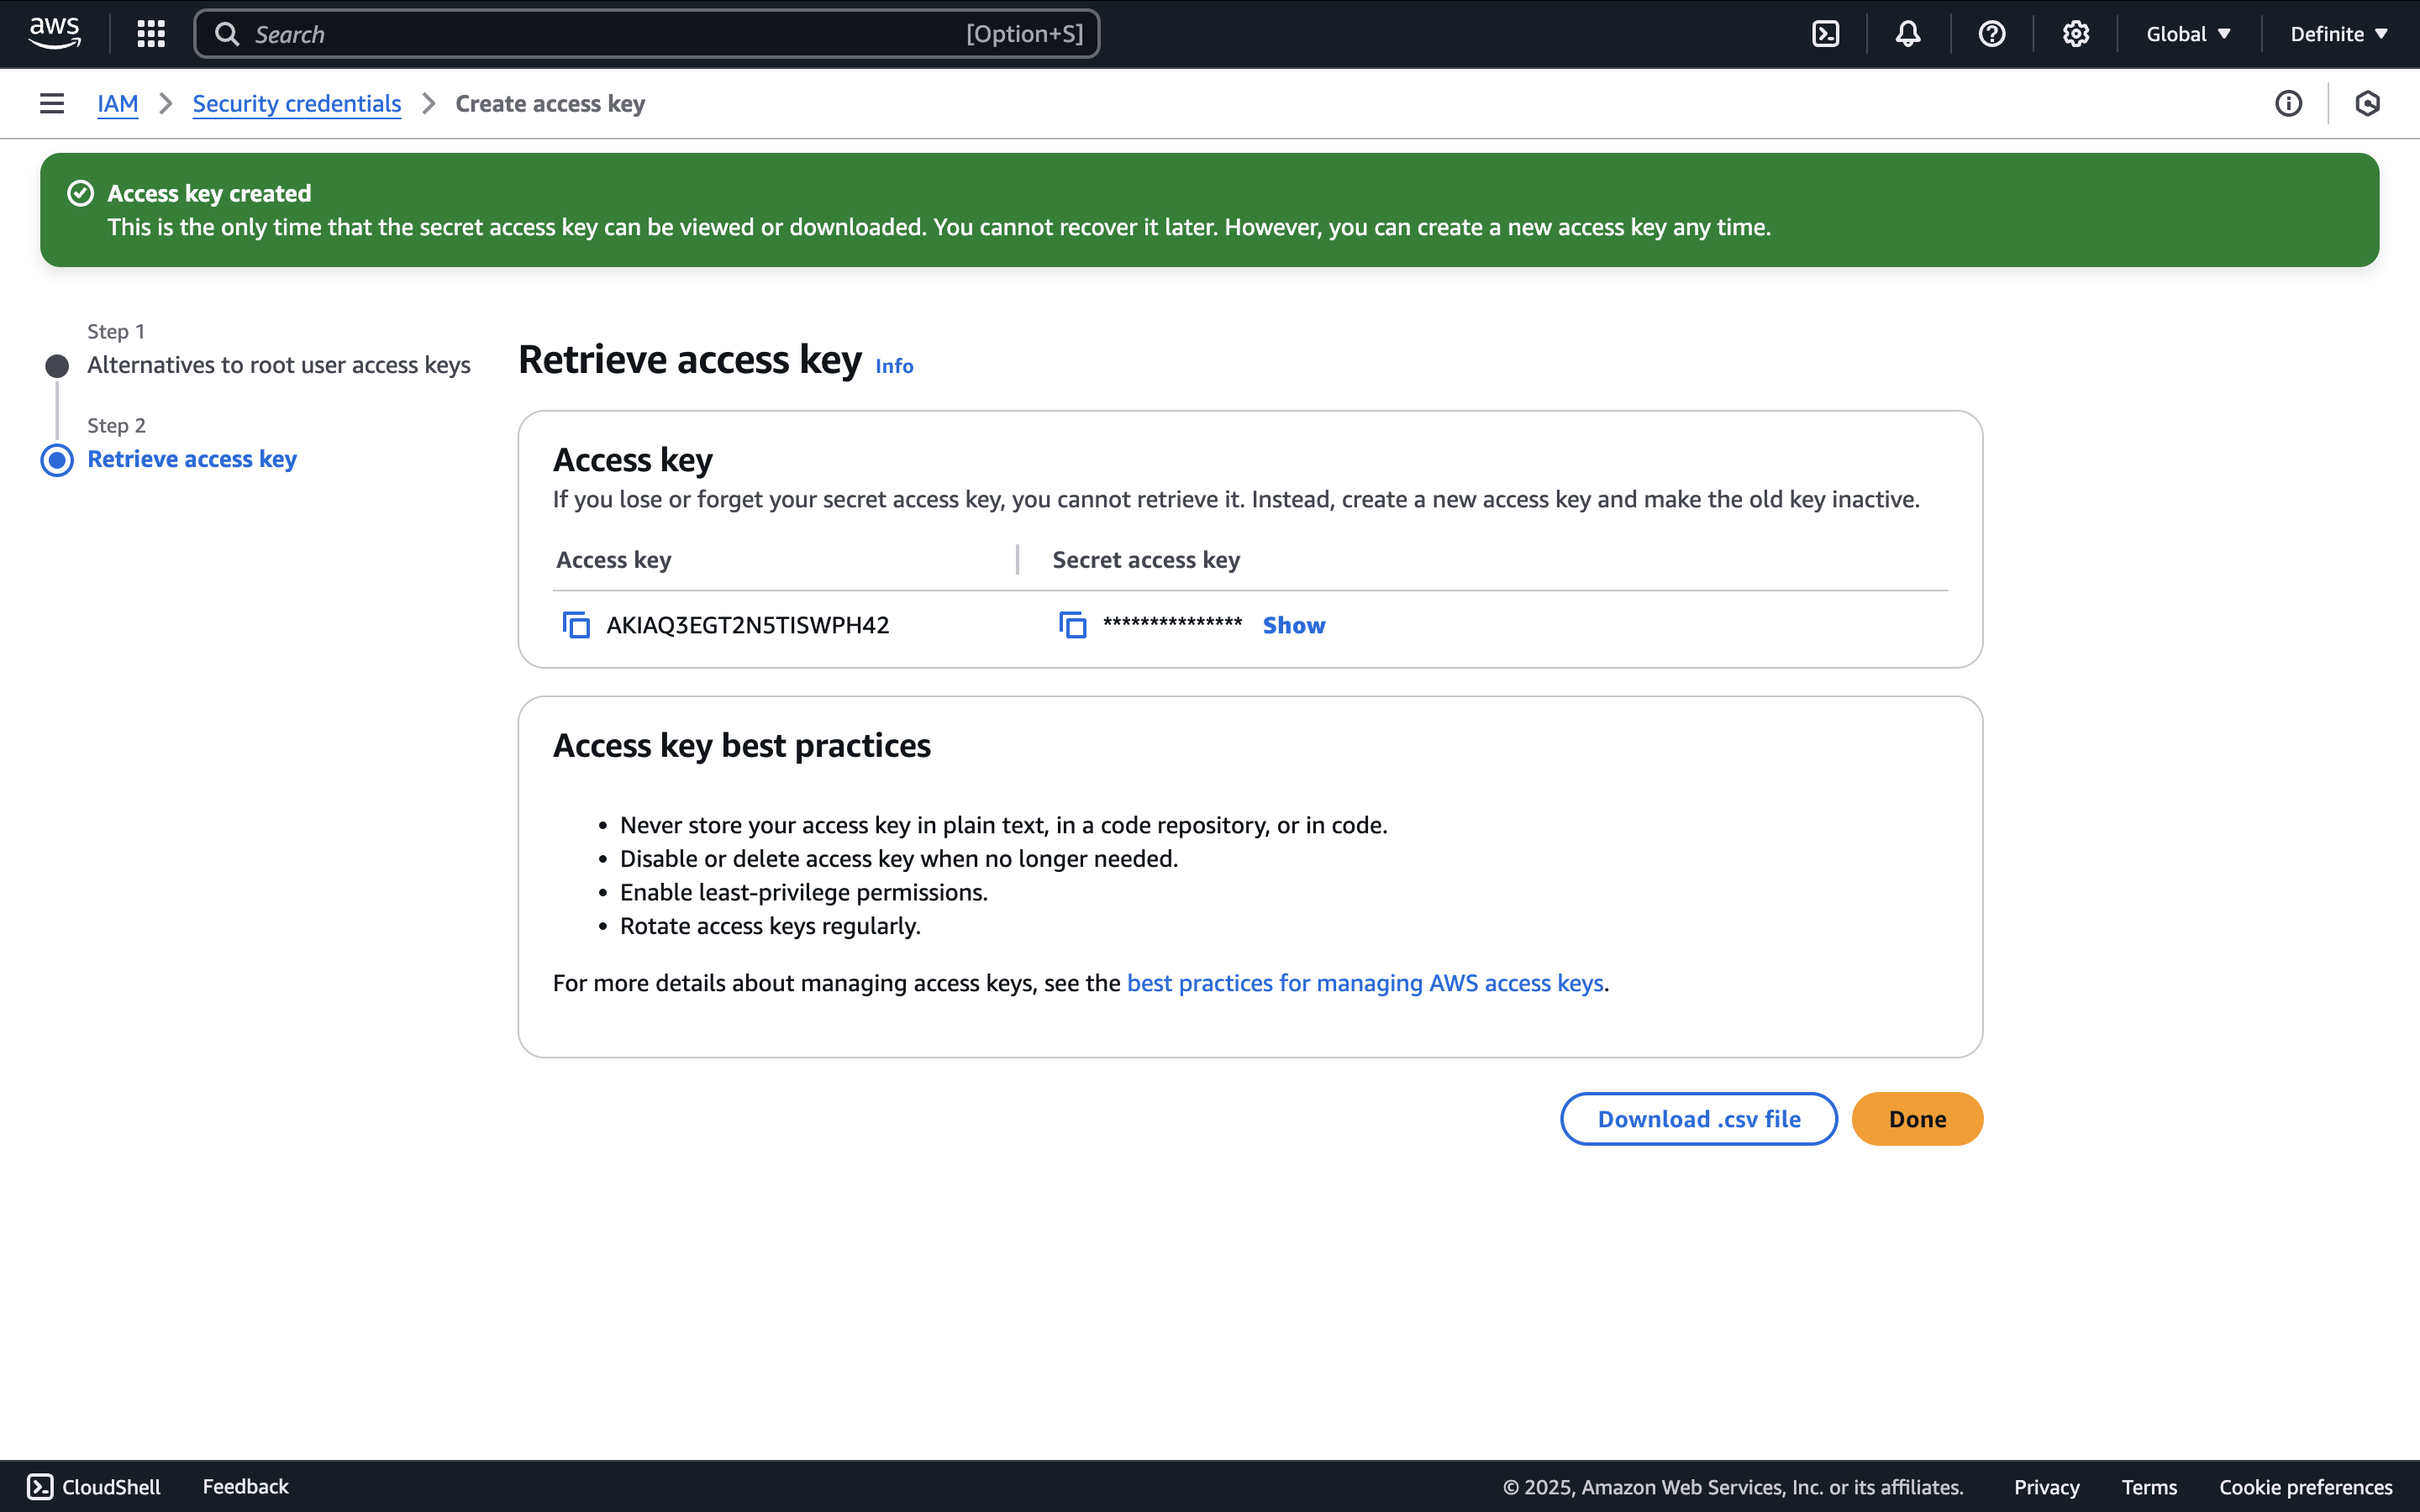
- AWS access key and secret access key
- PostHog account
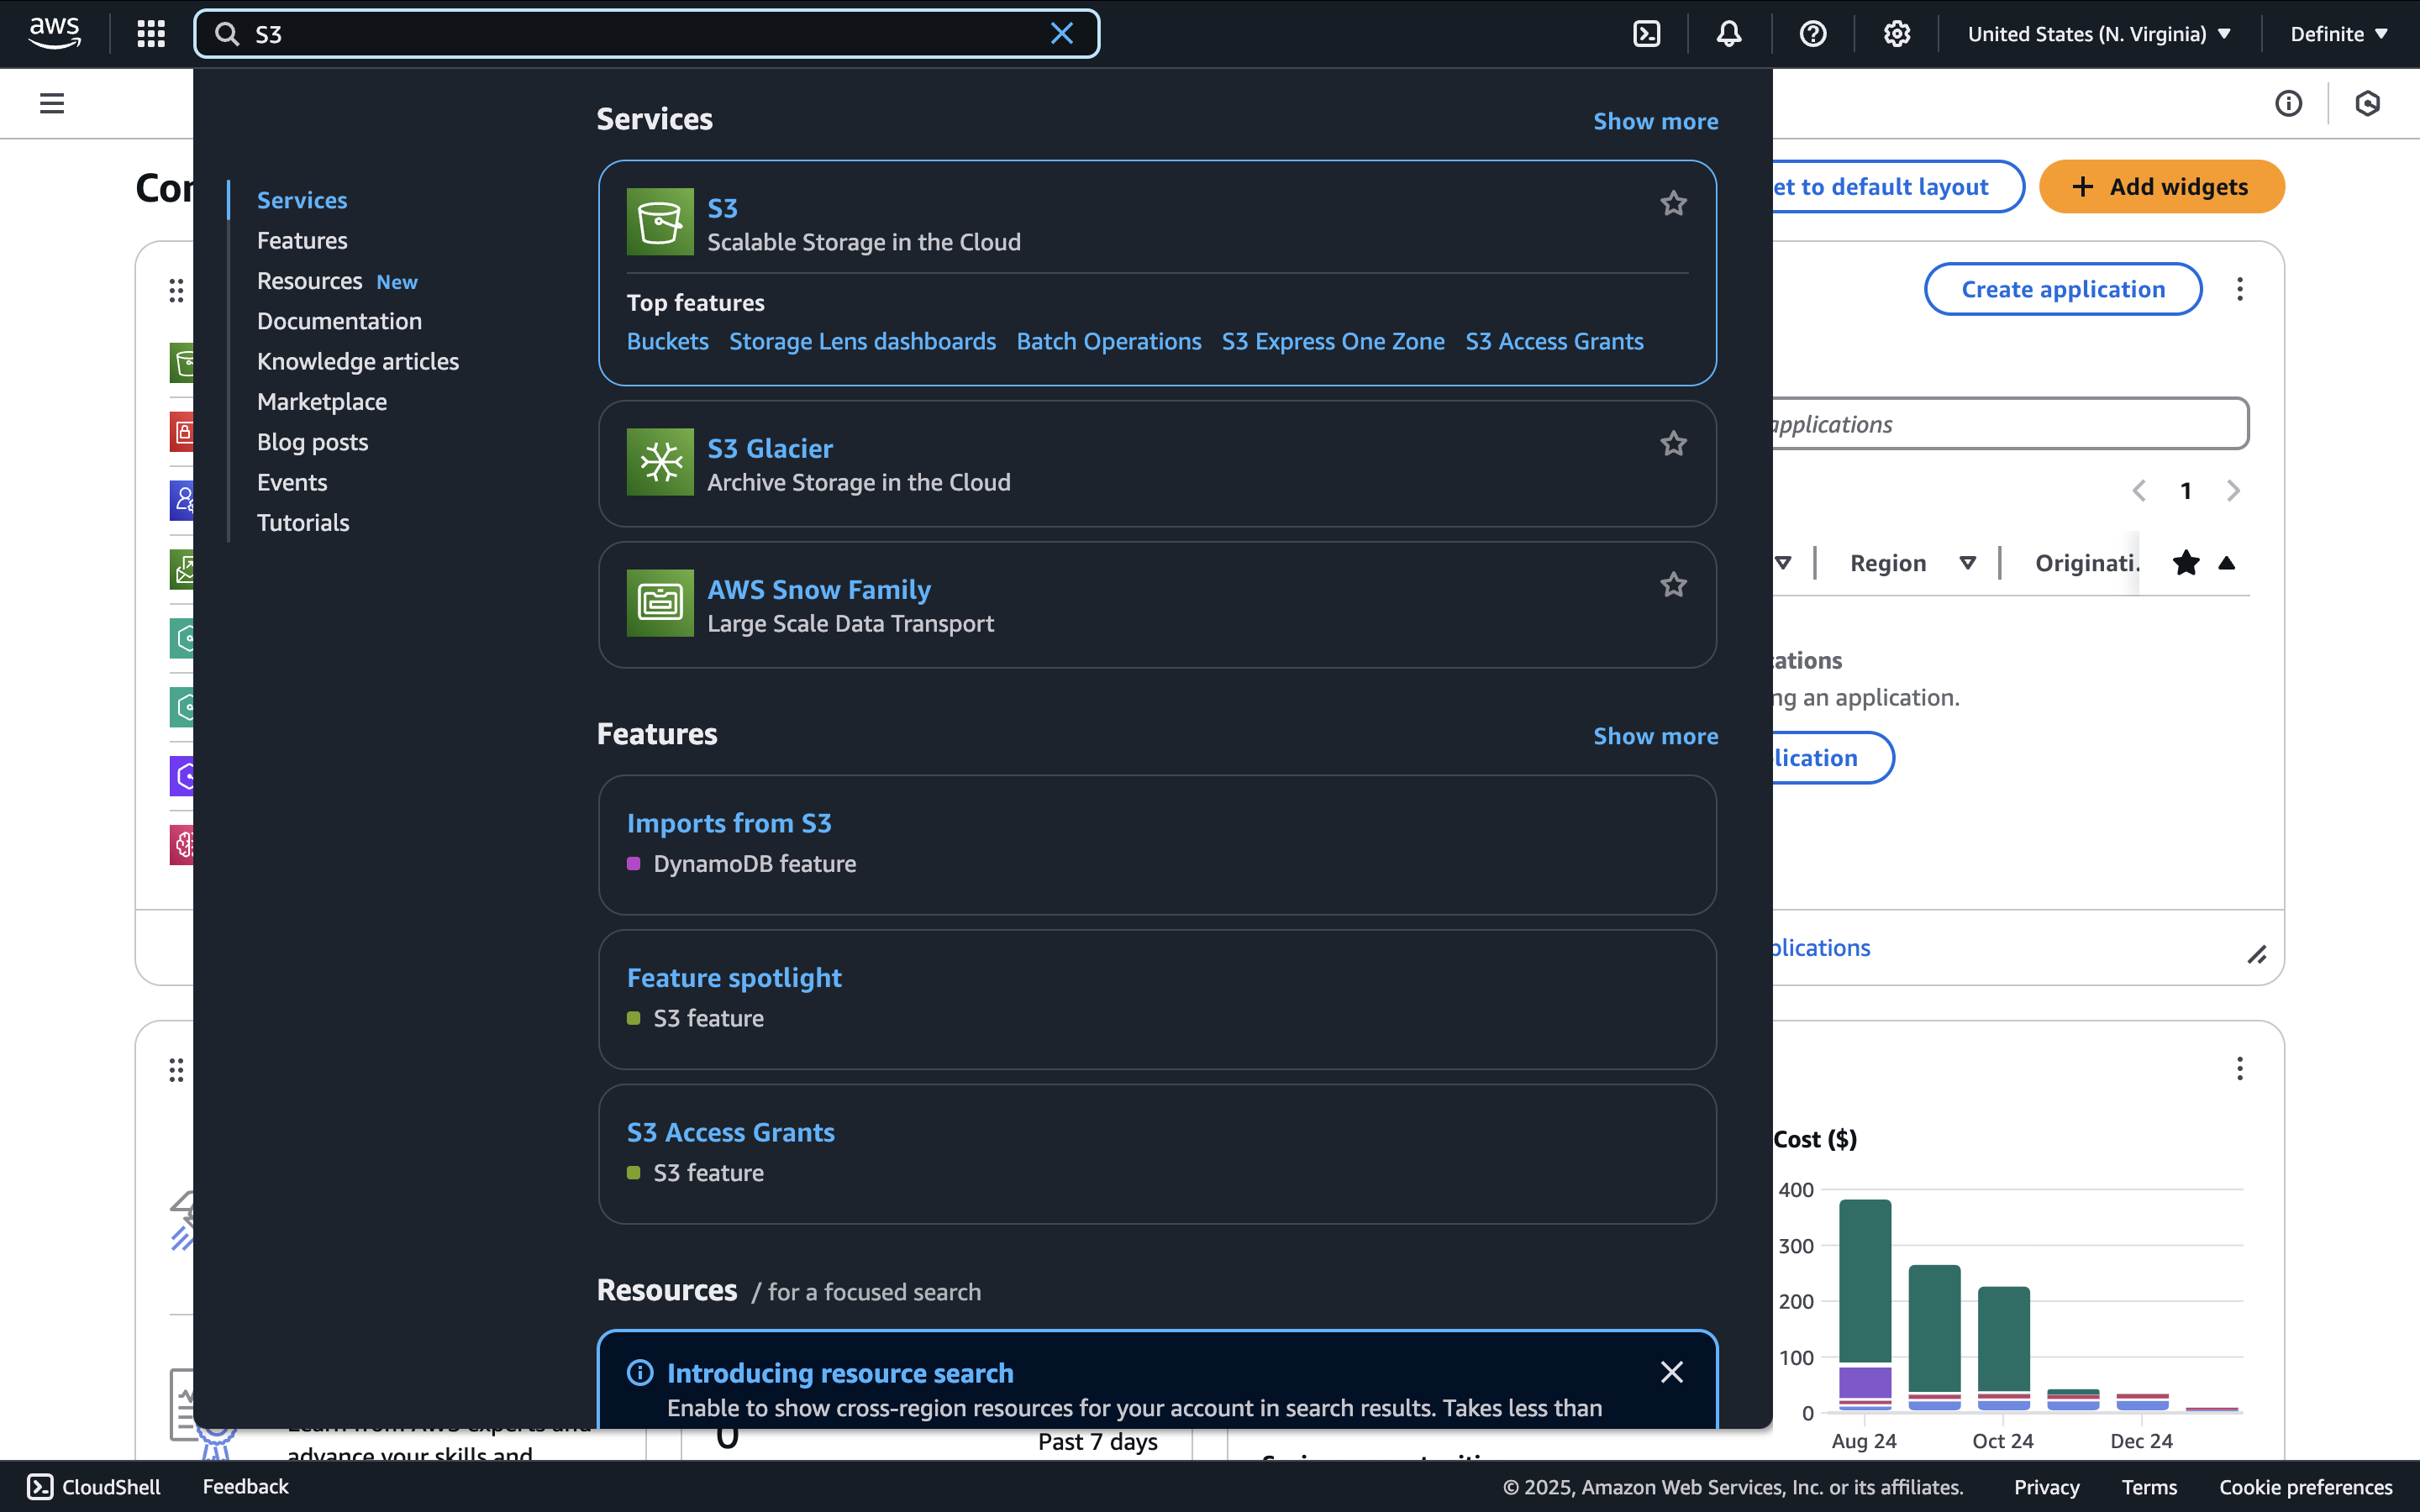
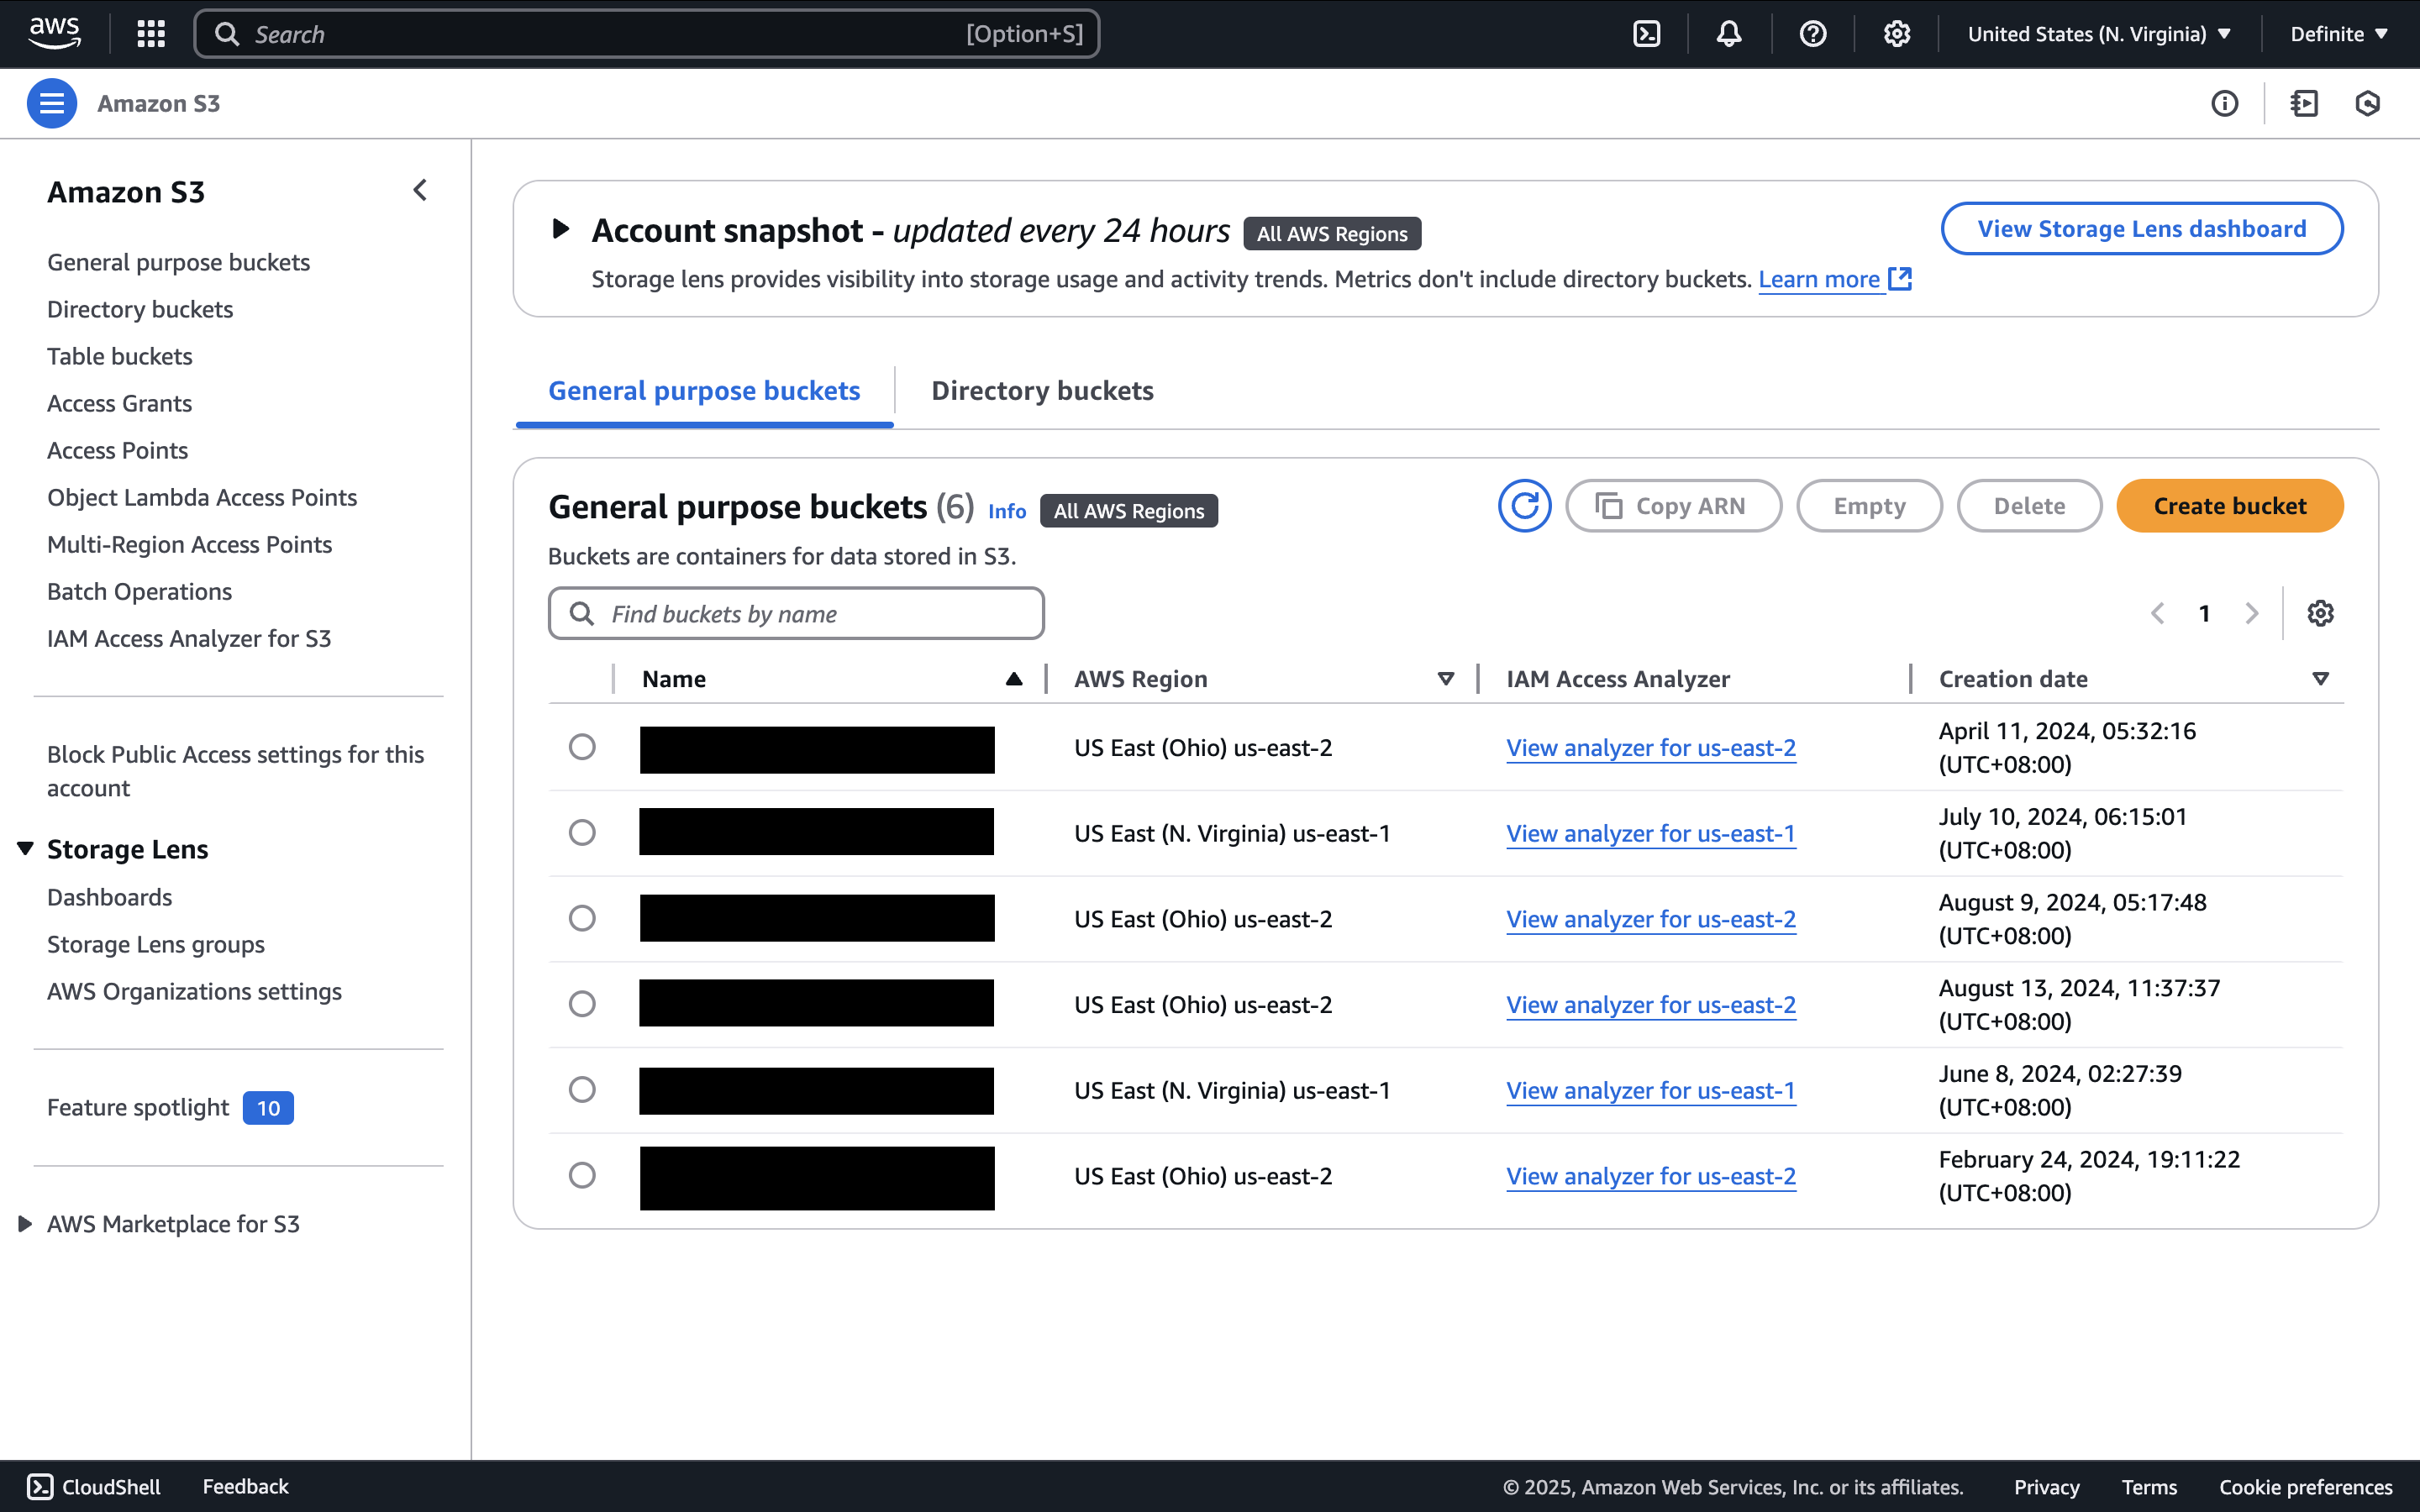
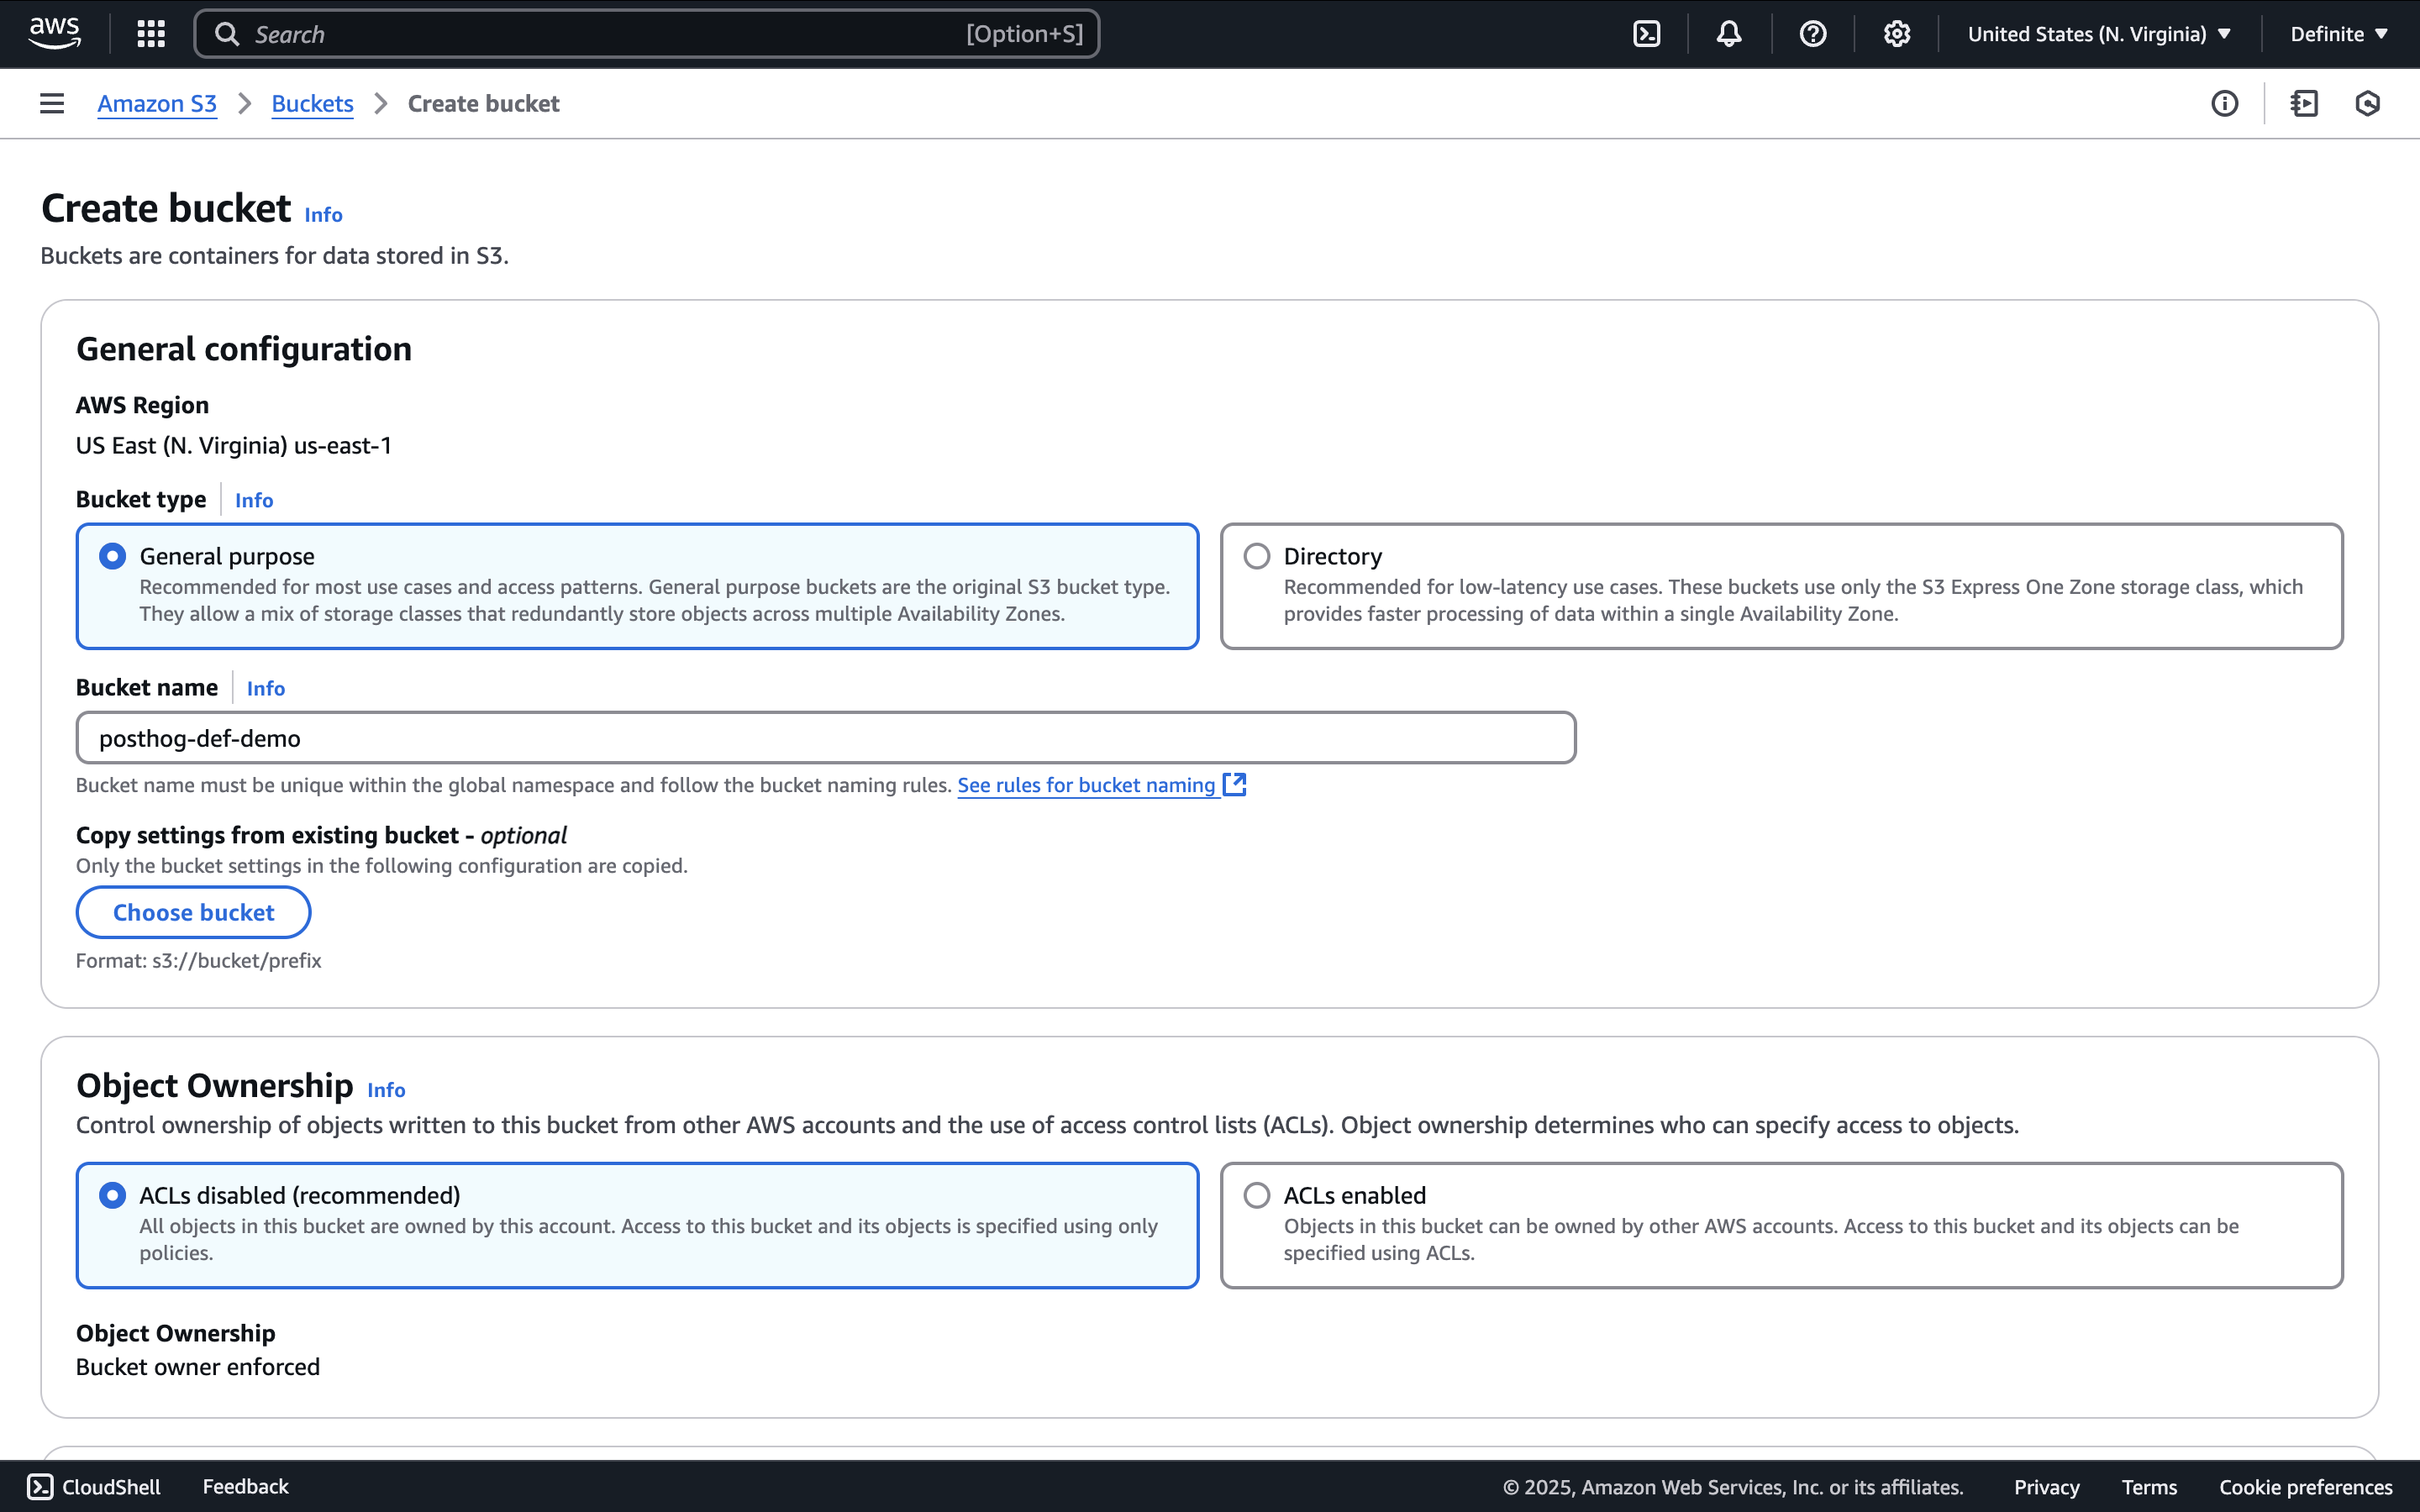
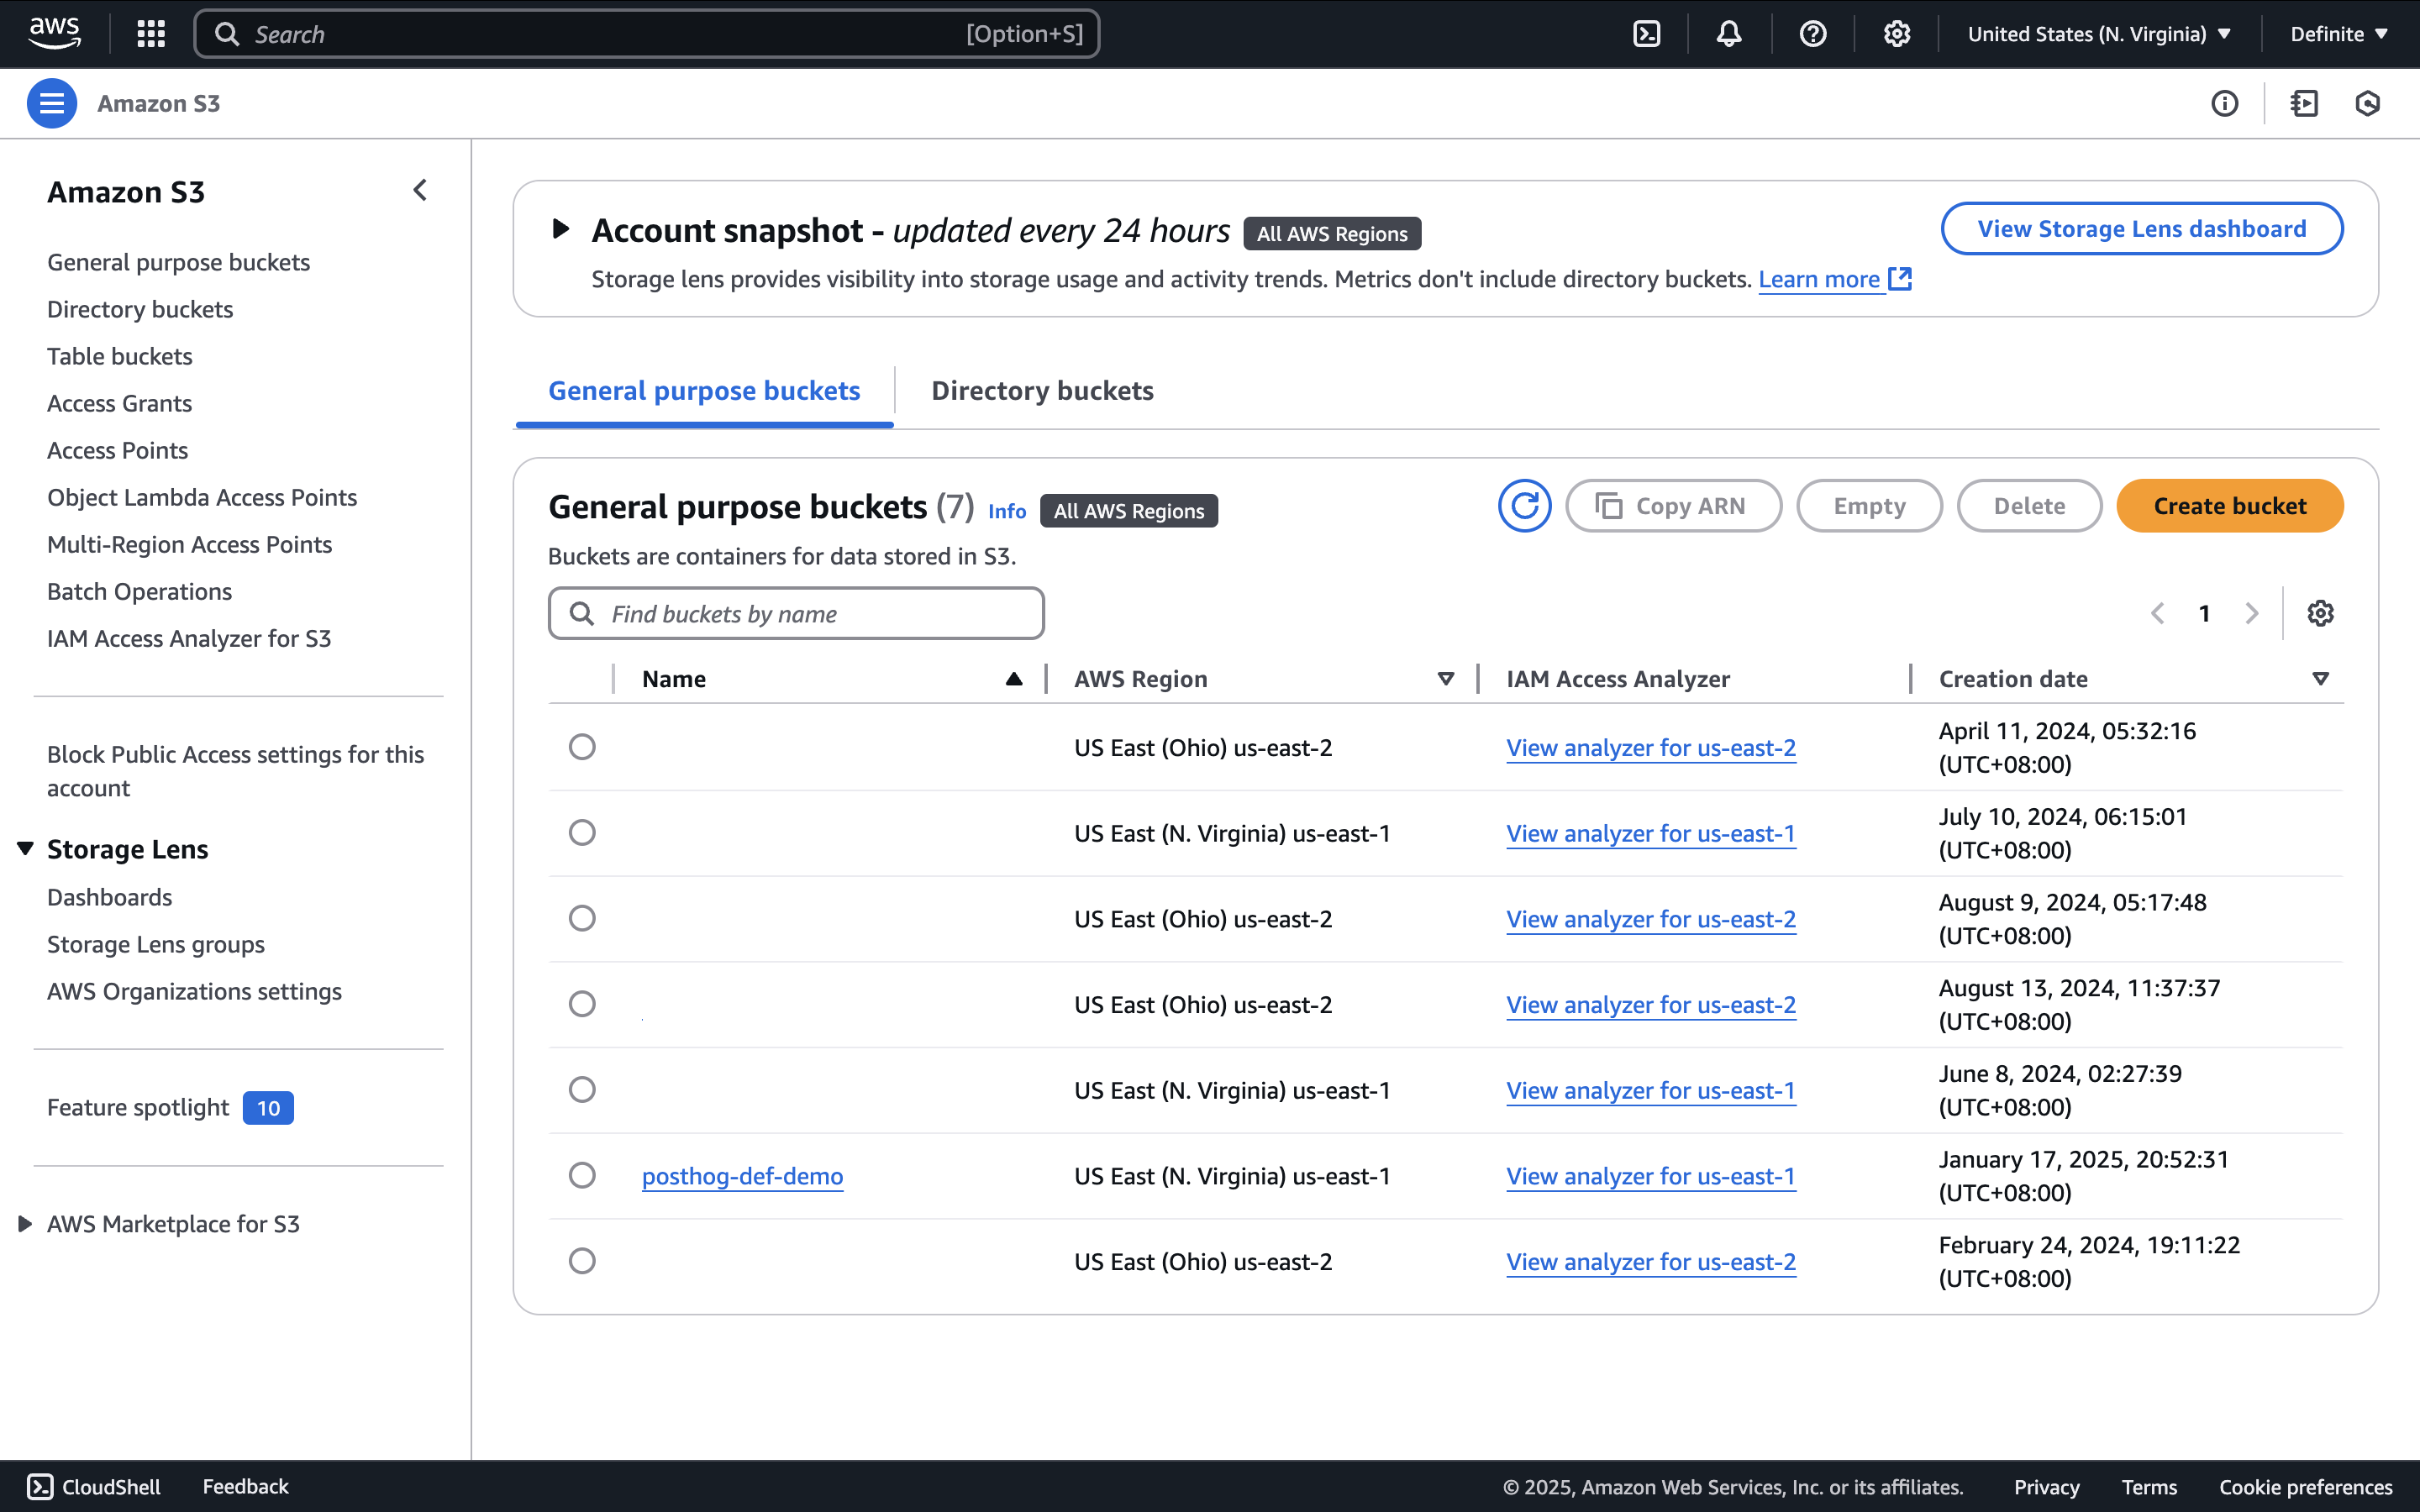
Setting up an S3 bucket for Posthog:
Getting AWS access key and secret access key:
Go to the AWS console and click on the name of your account. Then, in the expanded drop-down list, select 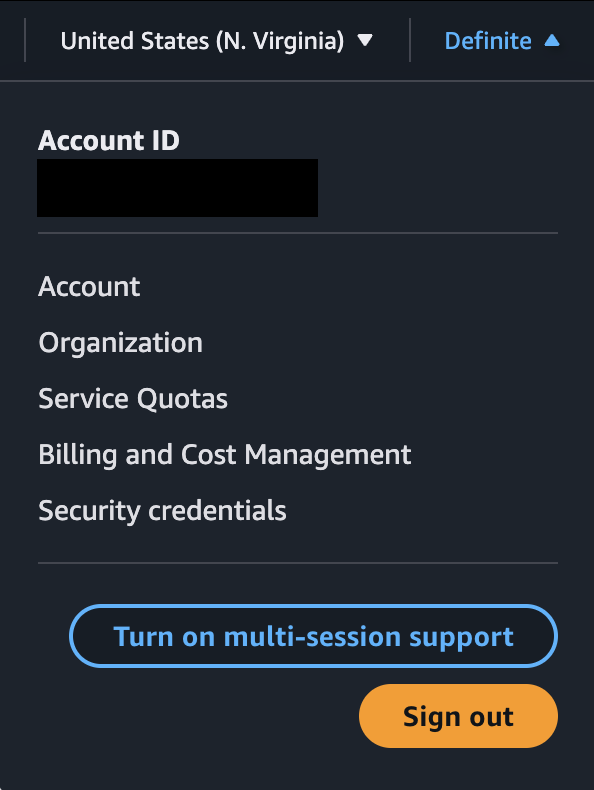
Security credentials.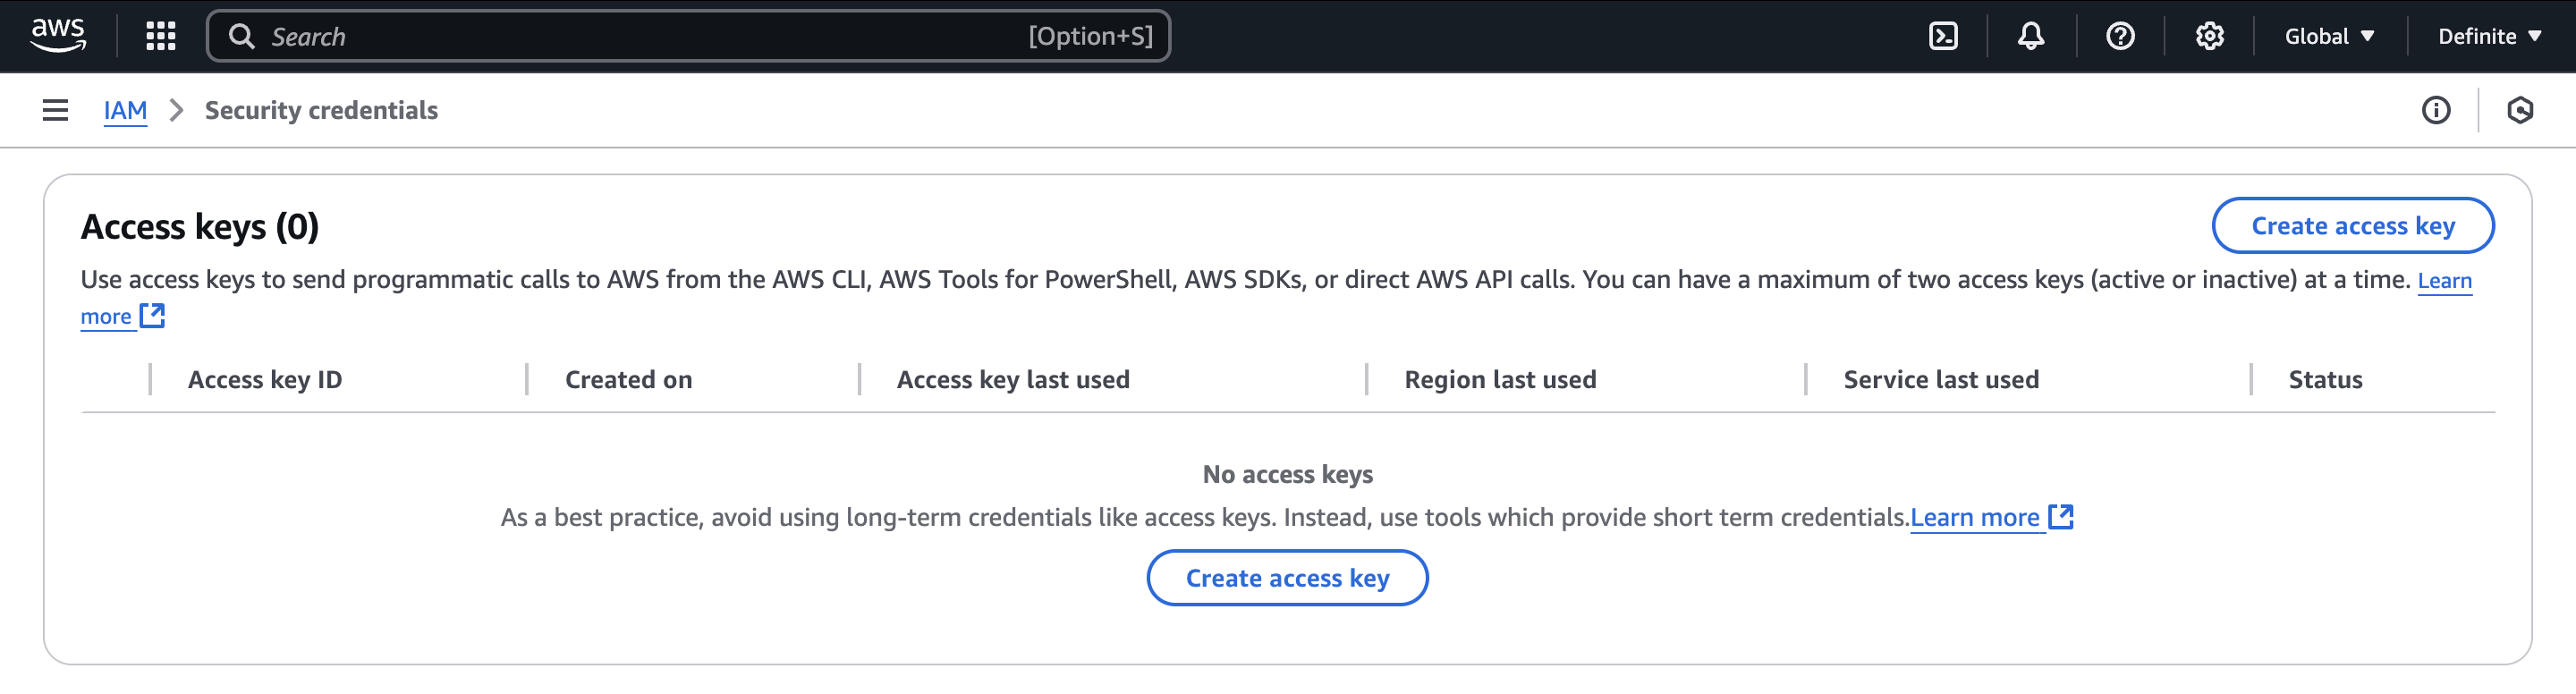
Sending Posthog data to S3
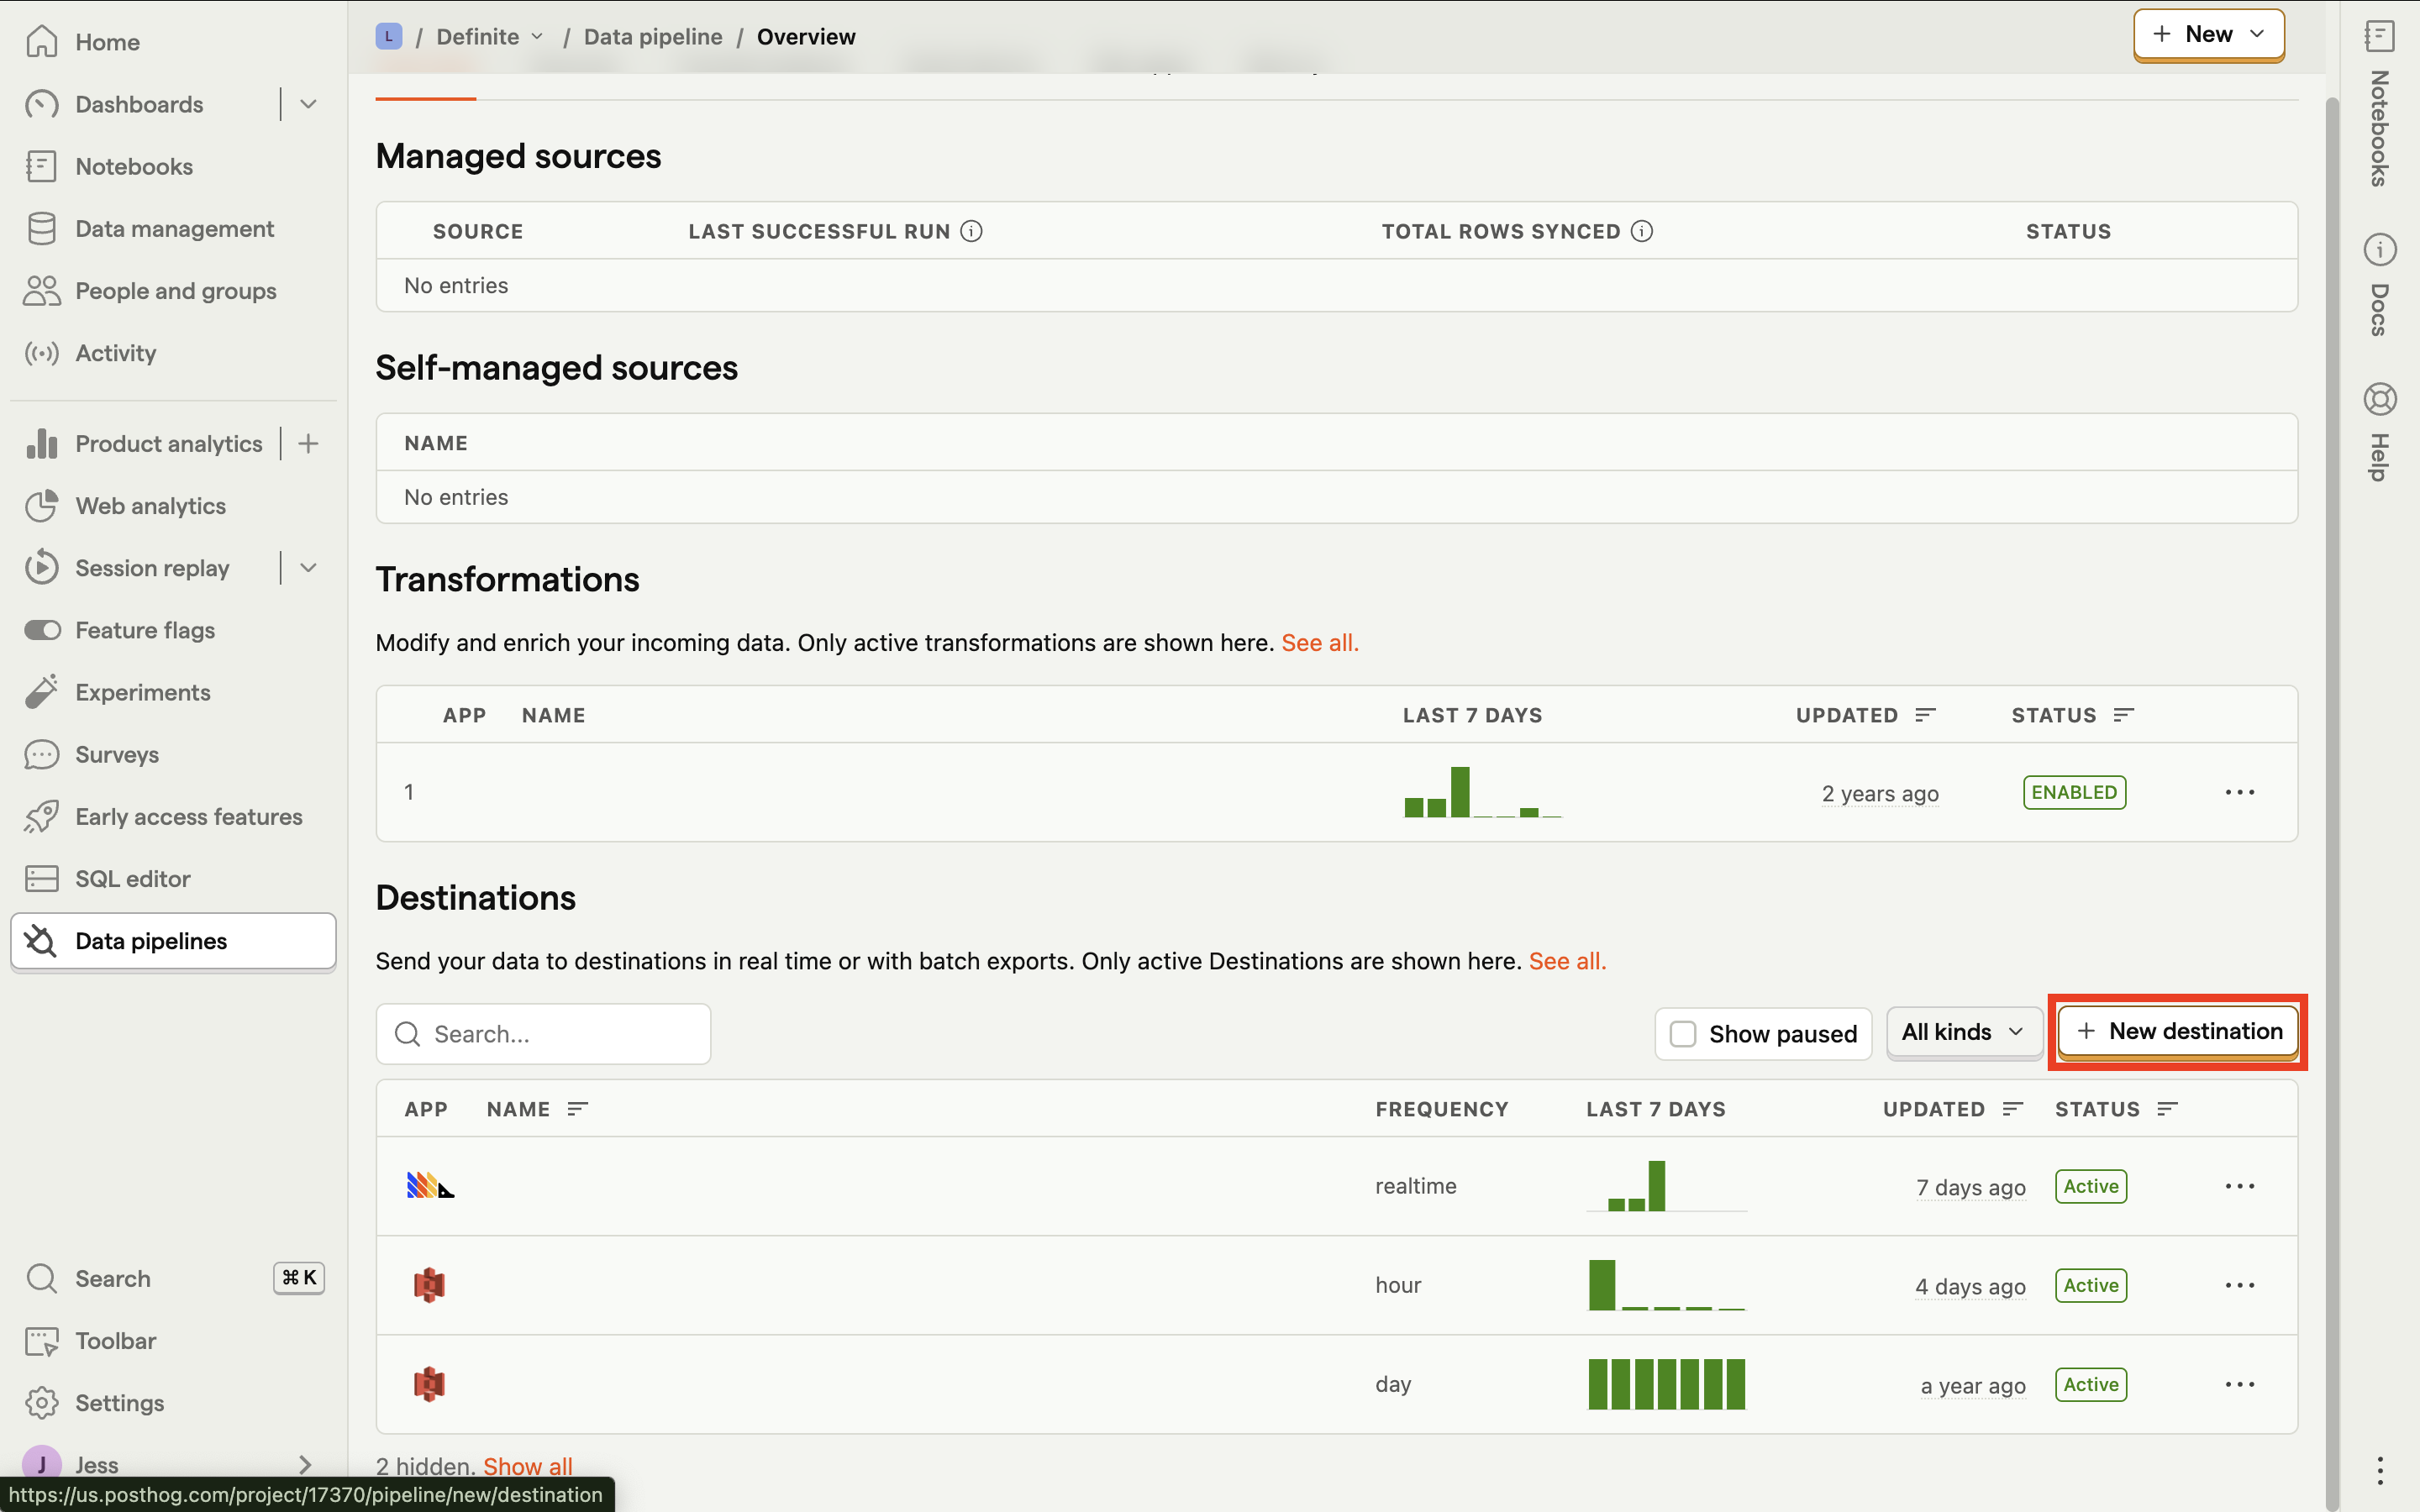
Fill out these fields: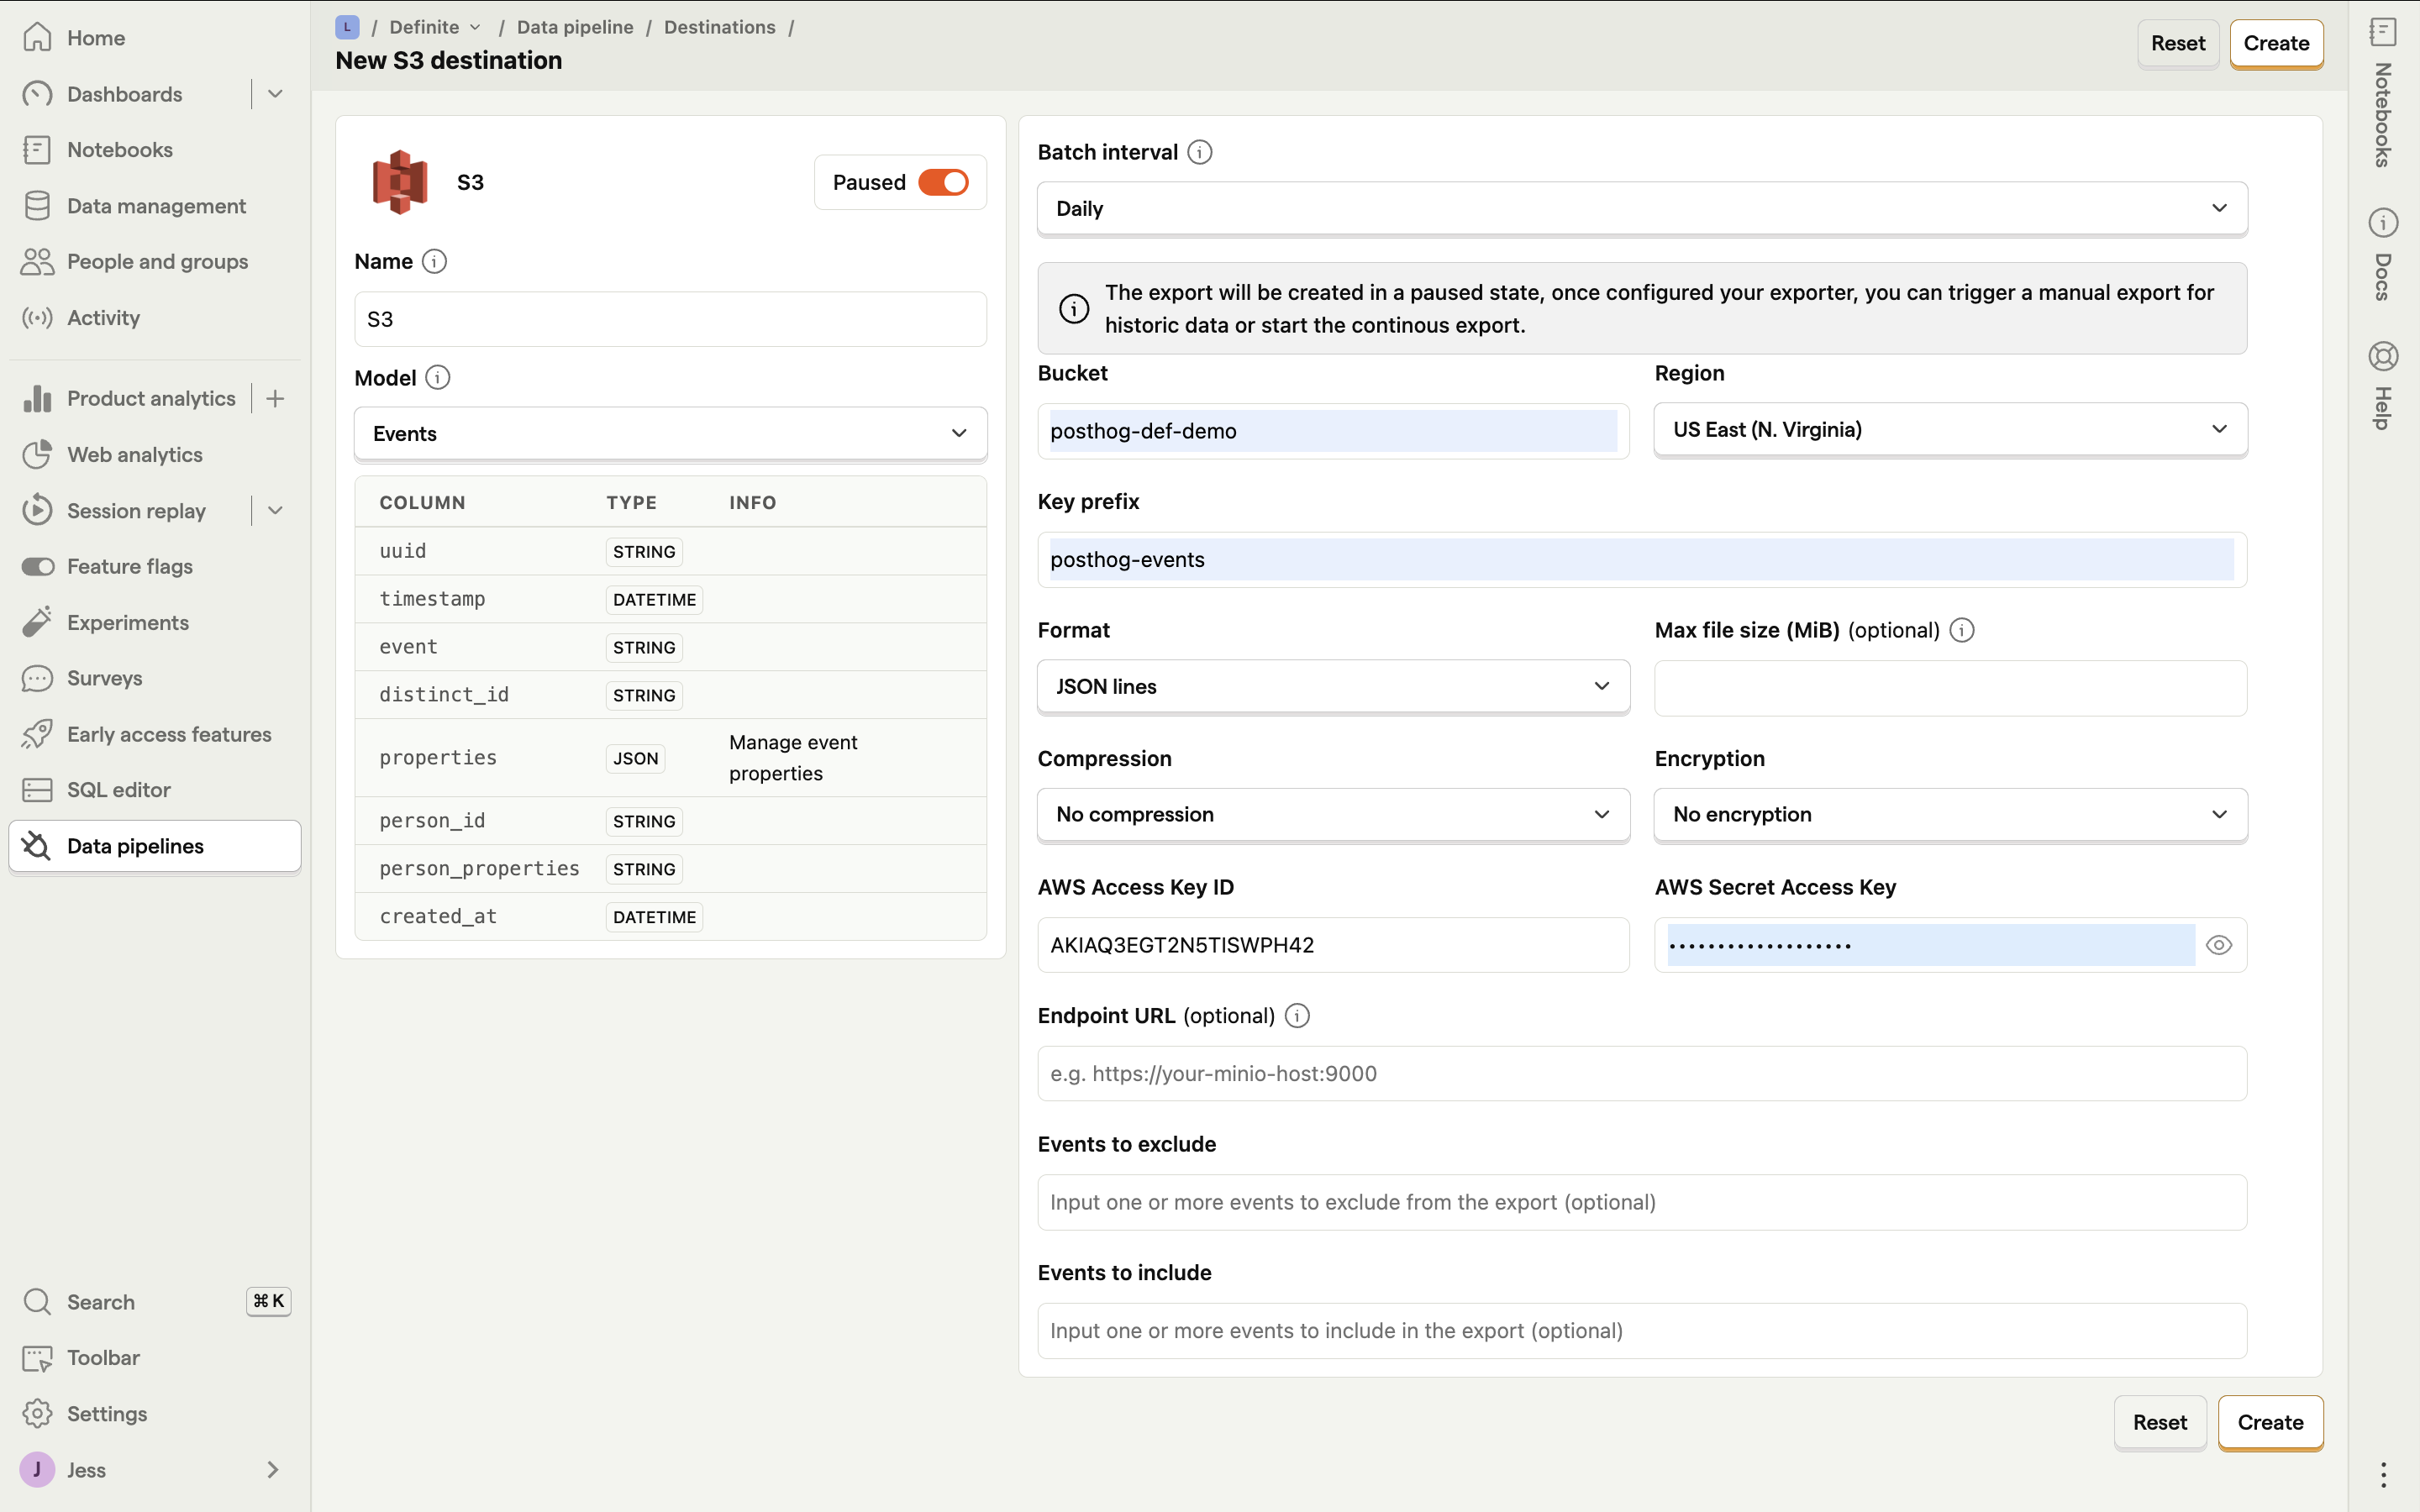
Name: assign name to your desinationModel: choose either events or personsBatch interval: choose either hourly or dailyBucket: name of the bucket you created on AWSRegion: name of the region where the bucket was createdKey prefix: assign a key-prefix for this integrationFormat: selectJSON linesAWS Access Key ID and Secret Access Key: paste values from the previous section
Paused button next to S3 to automatically start syncing your data and then click Create.Definite Instructions
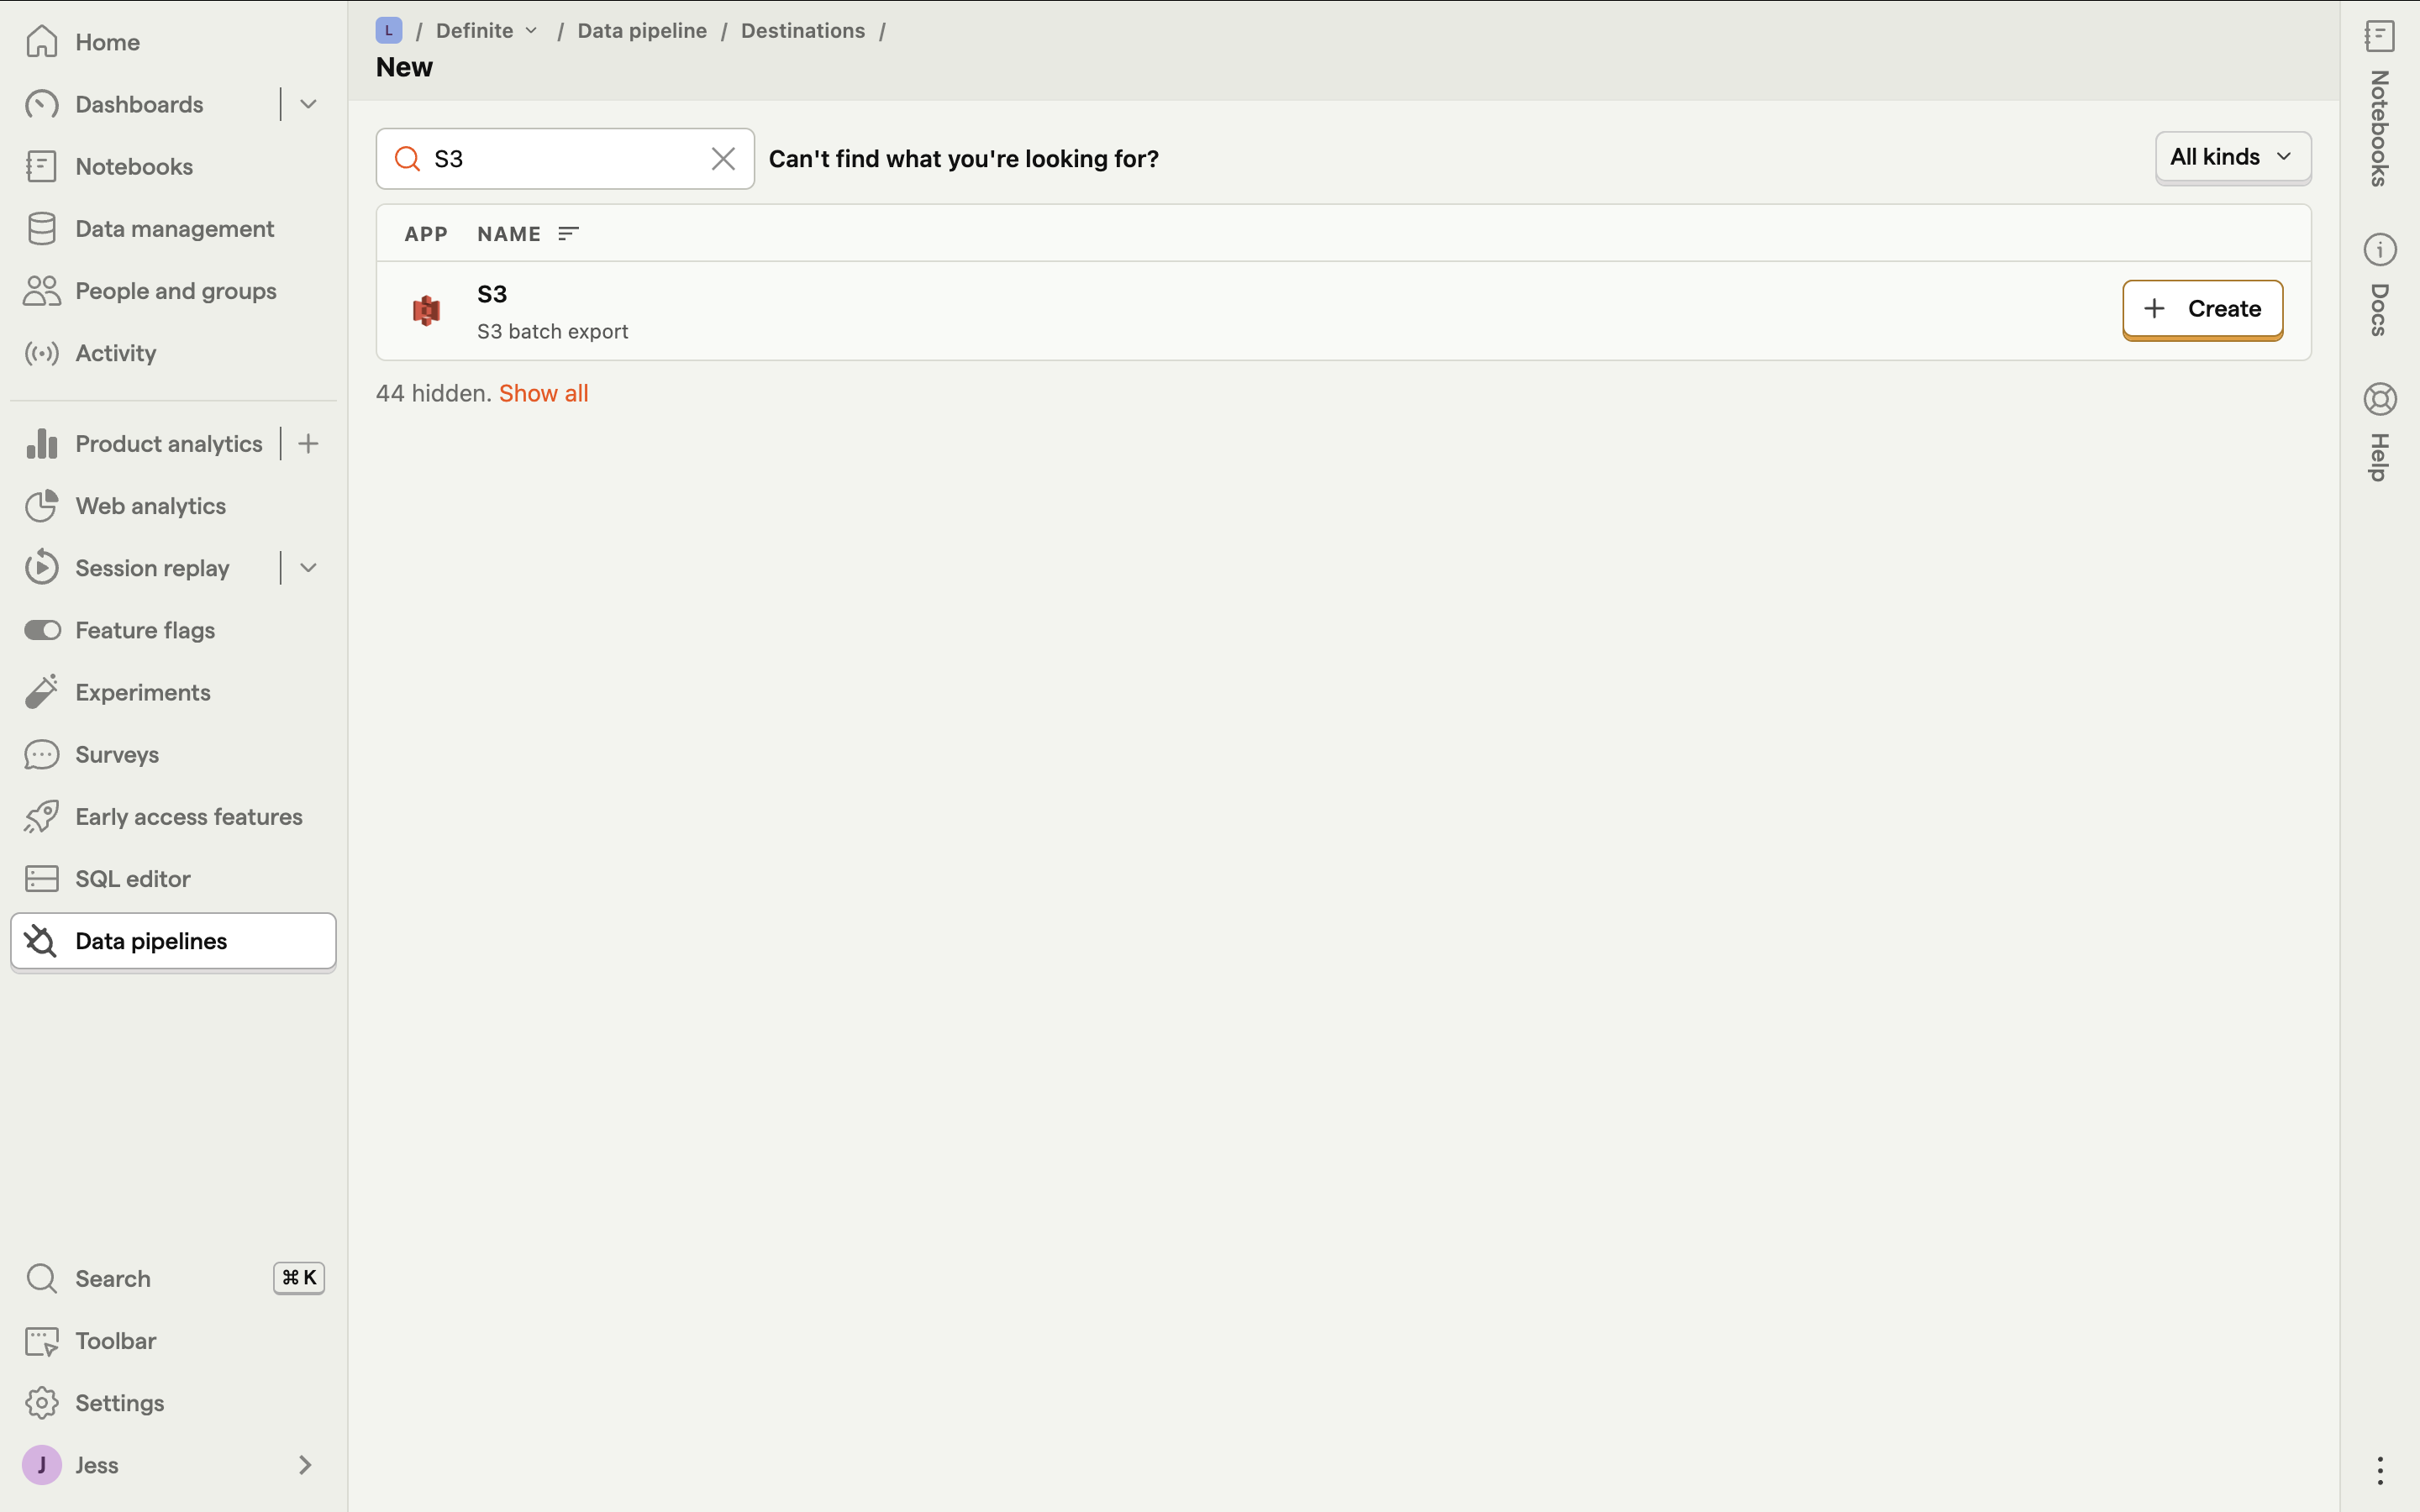
Go to this link to add an integration. Search for the S3 extractor and click it.
Fill out these fields: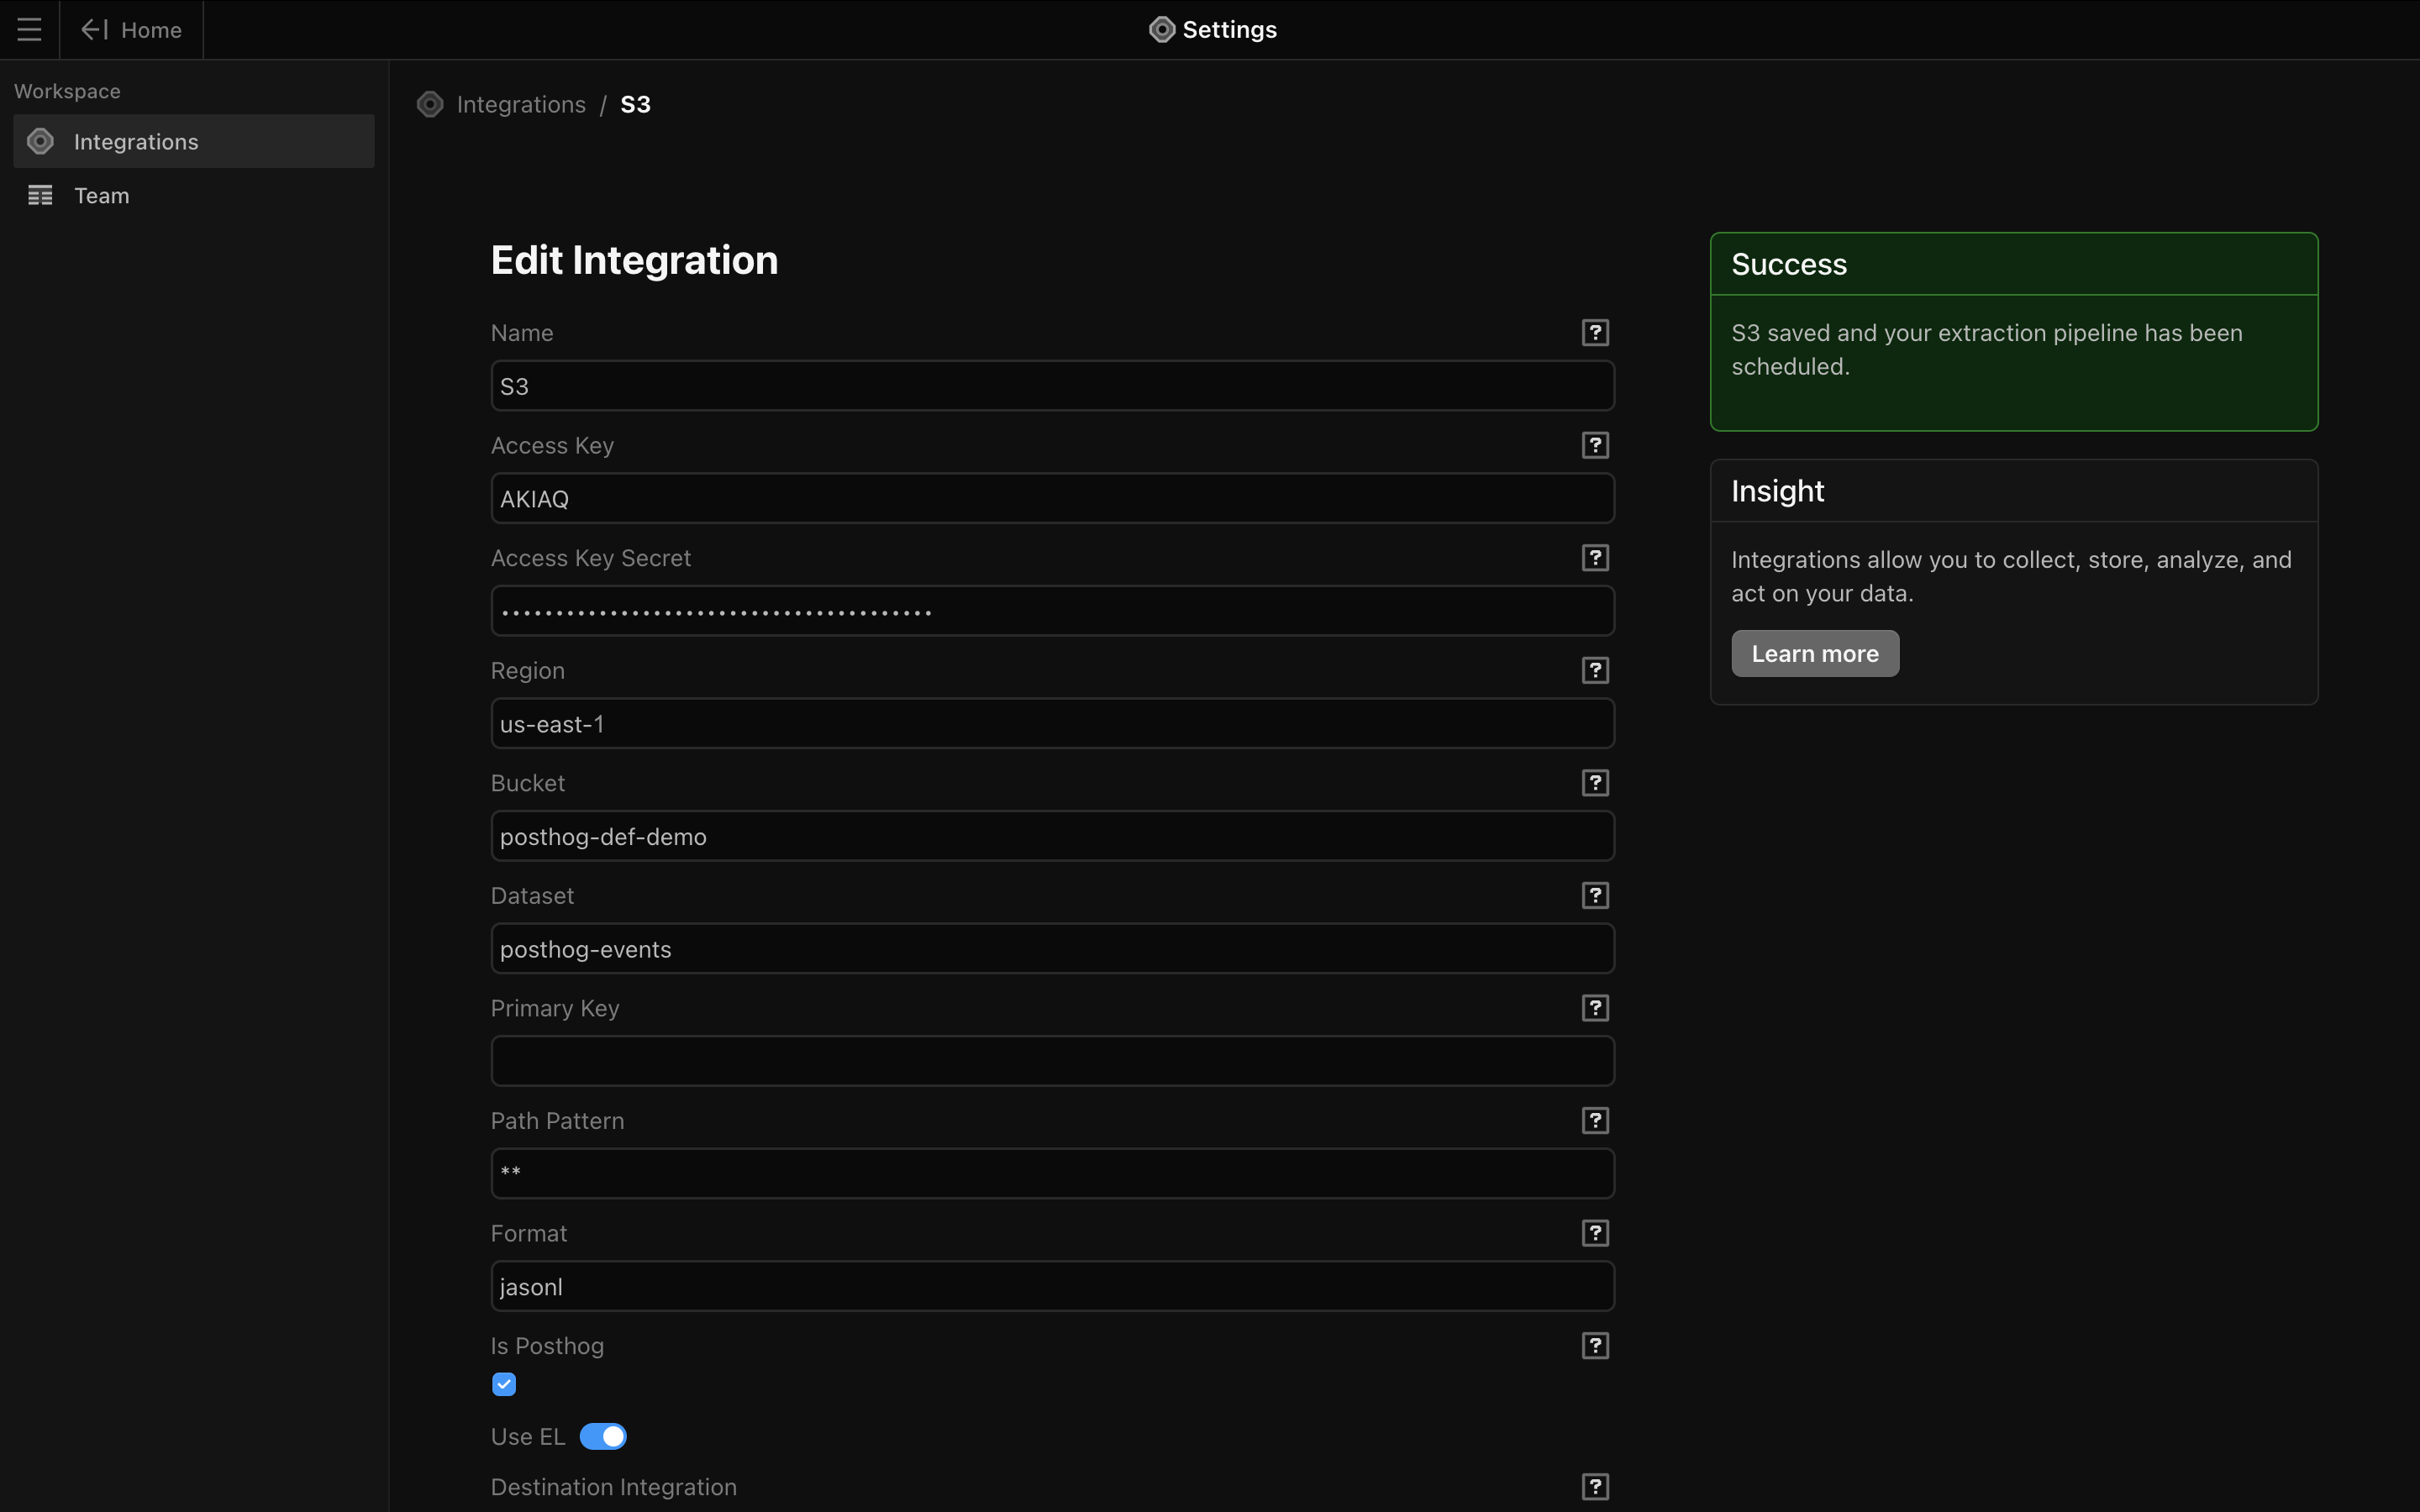
Name: Give your integration an easily identifiable nameAccess Key Secret: paste in the AWS Access key from the previous sectionAccess Key Secret: paste in the Secret access key from the previous sectionRegion: region where the bucket was created written in xx-xxxxx-xx format (e.g. us-east-1 for US East (N. Virginia))Bucket: name of bucket you created on AWSDataset: assign name to your datasetPrimary Key: optionalPath Pattern: optionalFormat: typejasonl- Check the
Is Posthogcheckbox Schedule Cron: Schedule for how frequently your data syncs. You can use the default of once a day at 5AM UTC (`0 5 * * *“) or you can set your own schedule. This tool is helpful in converting your desired timing to cron syntax.
Save. You should see a confirmation that your integration was successfully created.