Sign in to the AWS Management Console
Go to the AWS Management Console and log in with your credentials.
Navigate to the IAM Dashboard
Once logged in, navigate to the IAM (Identity and Access Management) dashboard. You can find this by typing “IAM” in the search bar at the top.
Create a New IAM User or Use an Existing One
If you already have an IAM user you wish to use, you can skip to the next step. If not, you need to create one.To create a new IAM user, click on “Users” in the navigation pane, then click the “Add user” button.Enter a user name and click “Next: Permissions”.
Attach Policies Directly or Add the User to a Group
If you have a group with the necessary permissions, you can add your user to that group. Otherwise, you can attach policies directly.To attach a policy directly, select “Attach existing policies directly”. Search for “AmazonS3FullAccess” if you wish to grant full access to S3, or search for a more restricted policy if needed.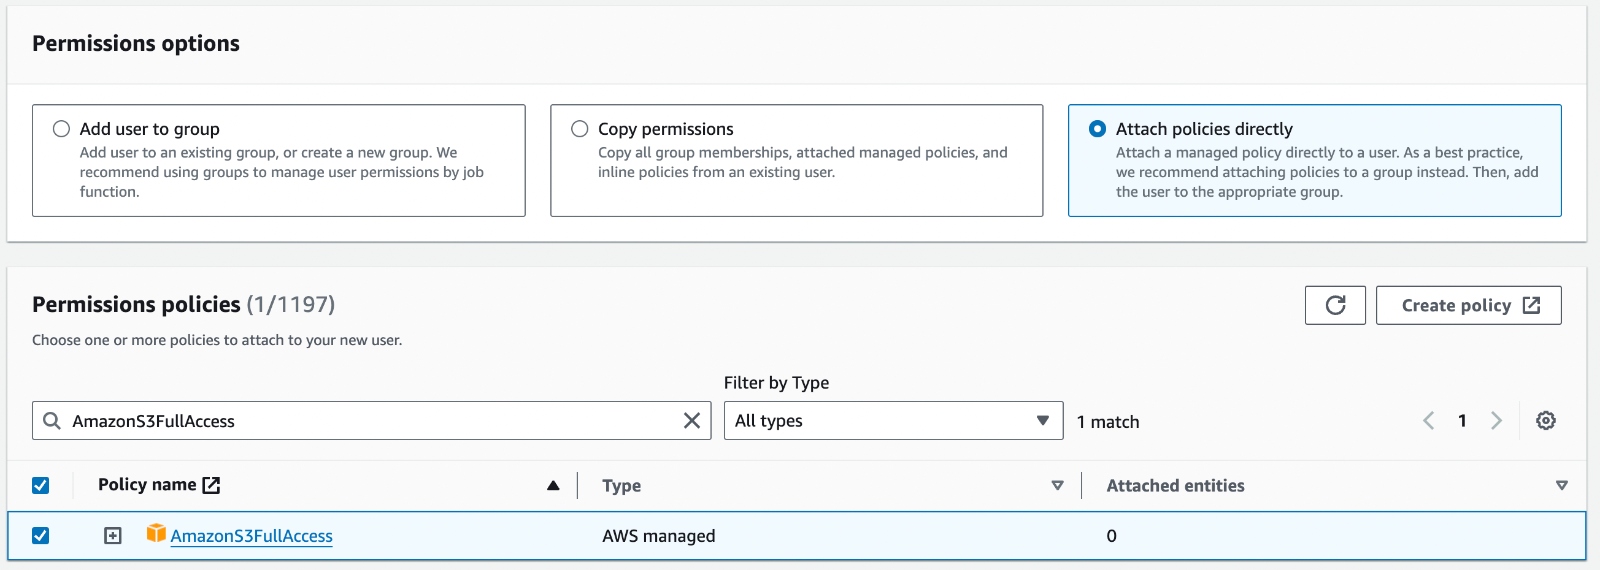
Review and Create the User
Review your choices and add any tags if necessary (optional). If everything looks good, click
Create user.Create Key and Secret Access Key
After the user is created, click on the newly created user in the list of users. Once your user is pulled up, click on 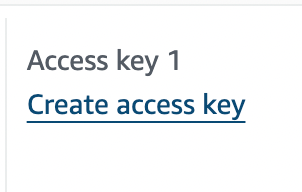
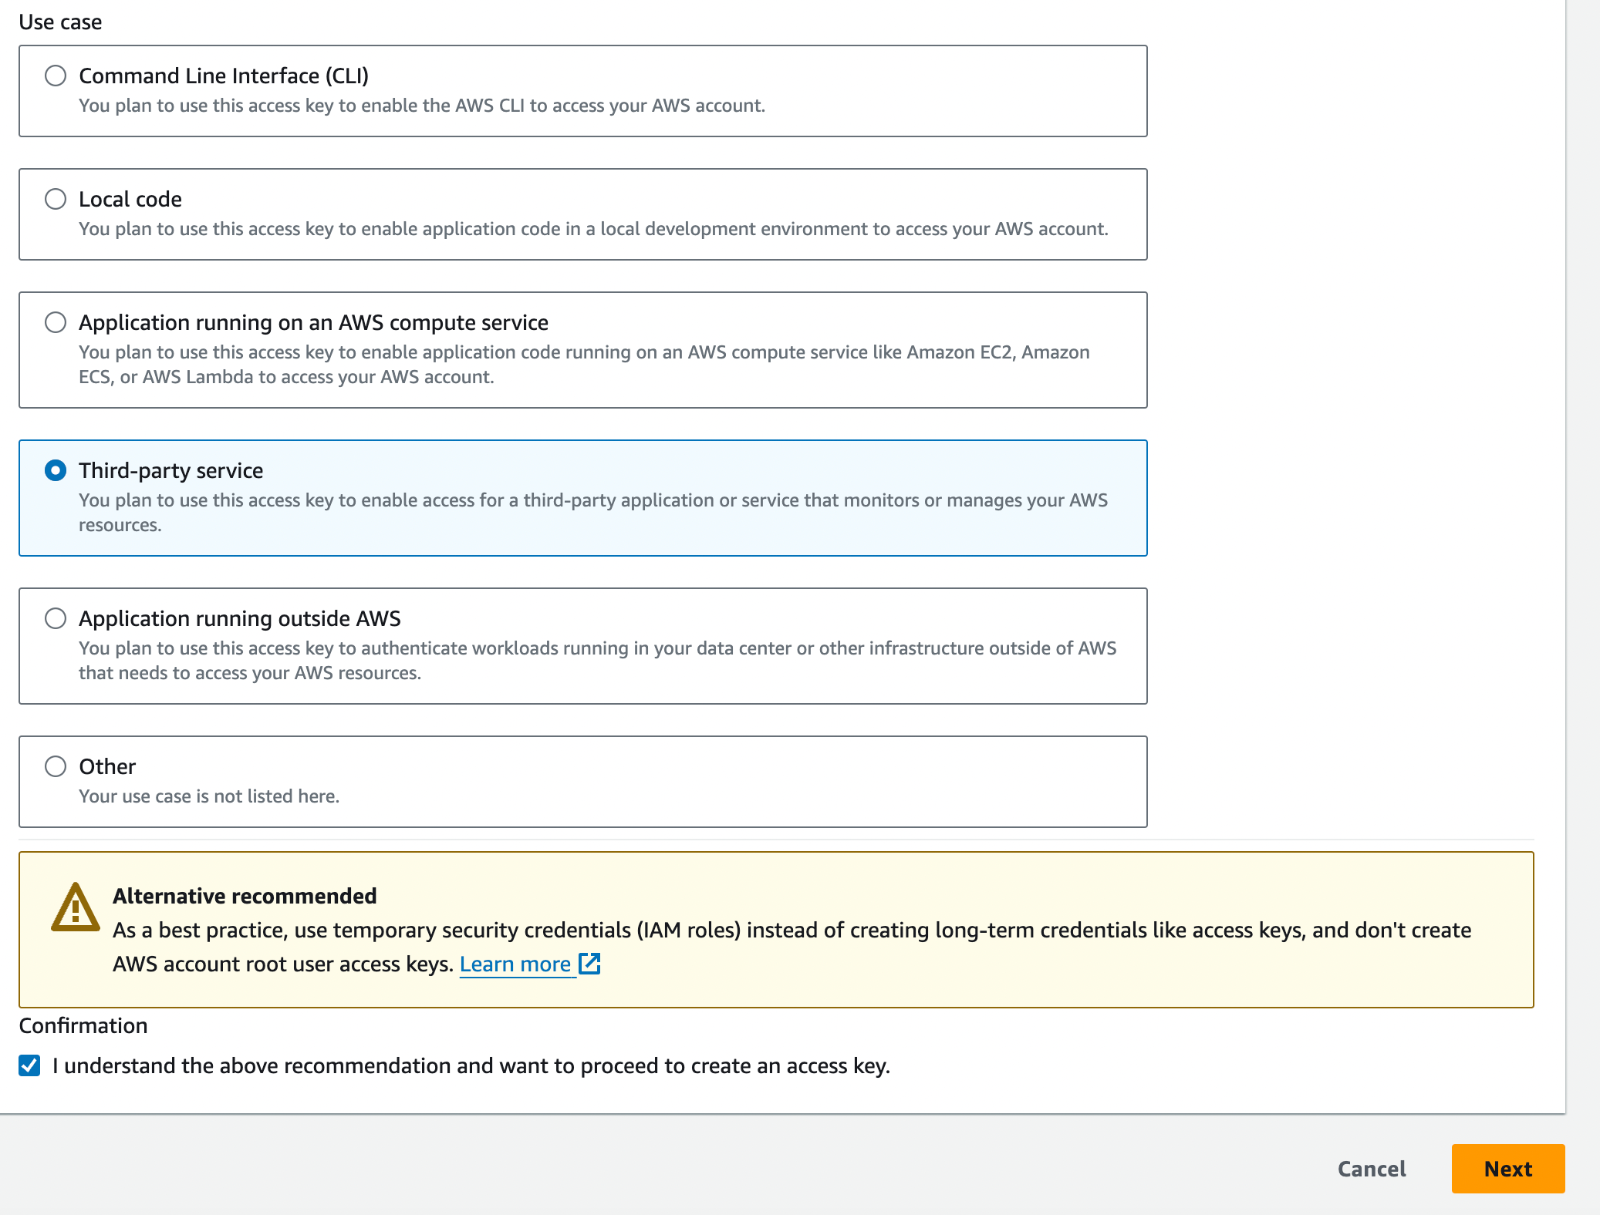
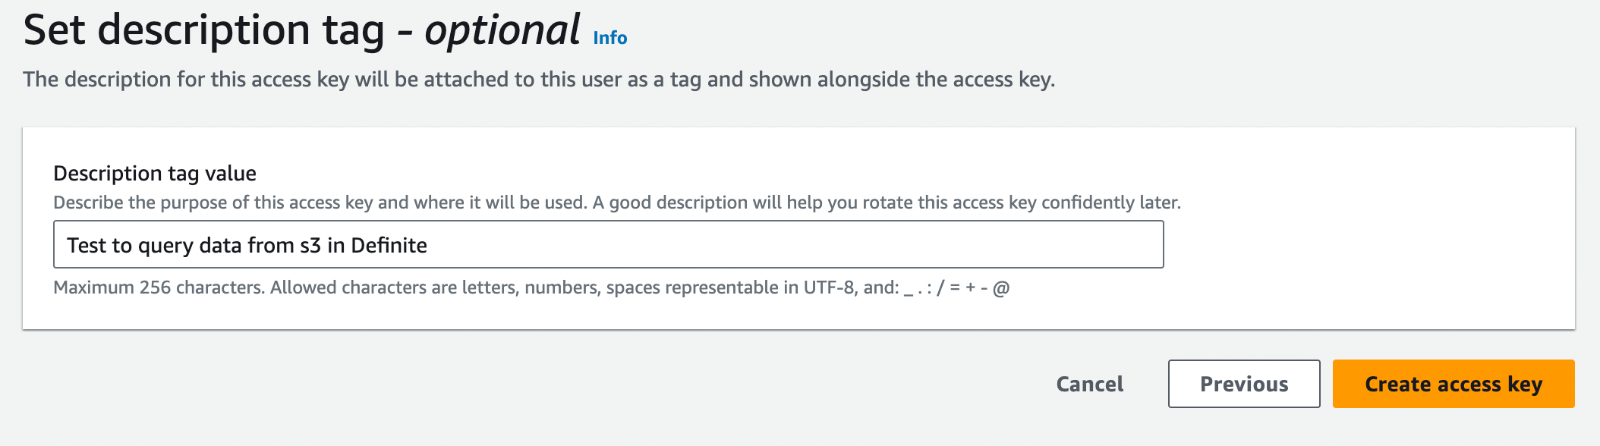
Create access key .Third-party service and click Next.Create access key.Save Key and Secret Access Key
The next screen should show both your Access Key and your Secret Access Key. Make sure to copy these credentials to a secure location. This is the only time these credentials will be shown.
Connect Your AWS User to Definite
In Definite, go to Settings Integrations and search for S3. Once the S3 menu is up, add in your credentials like so: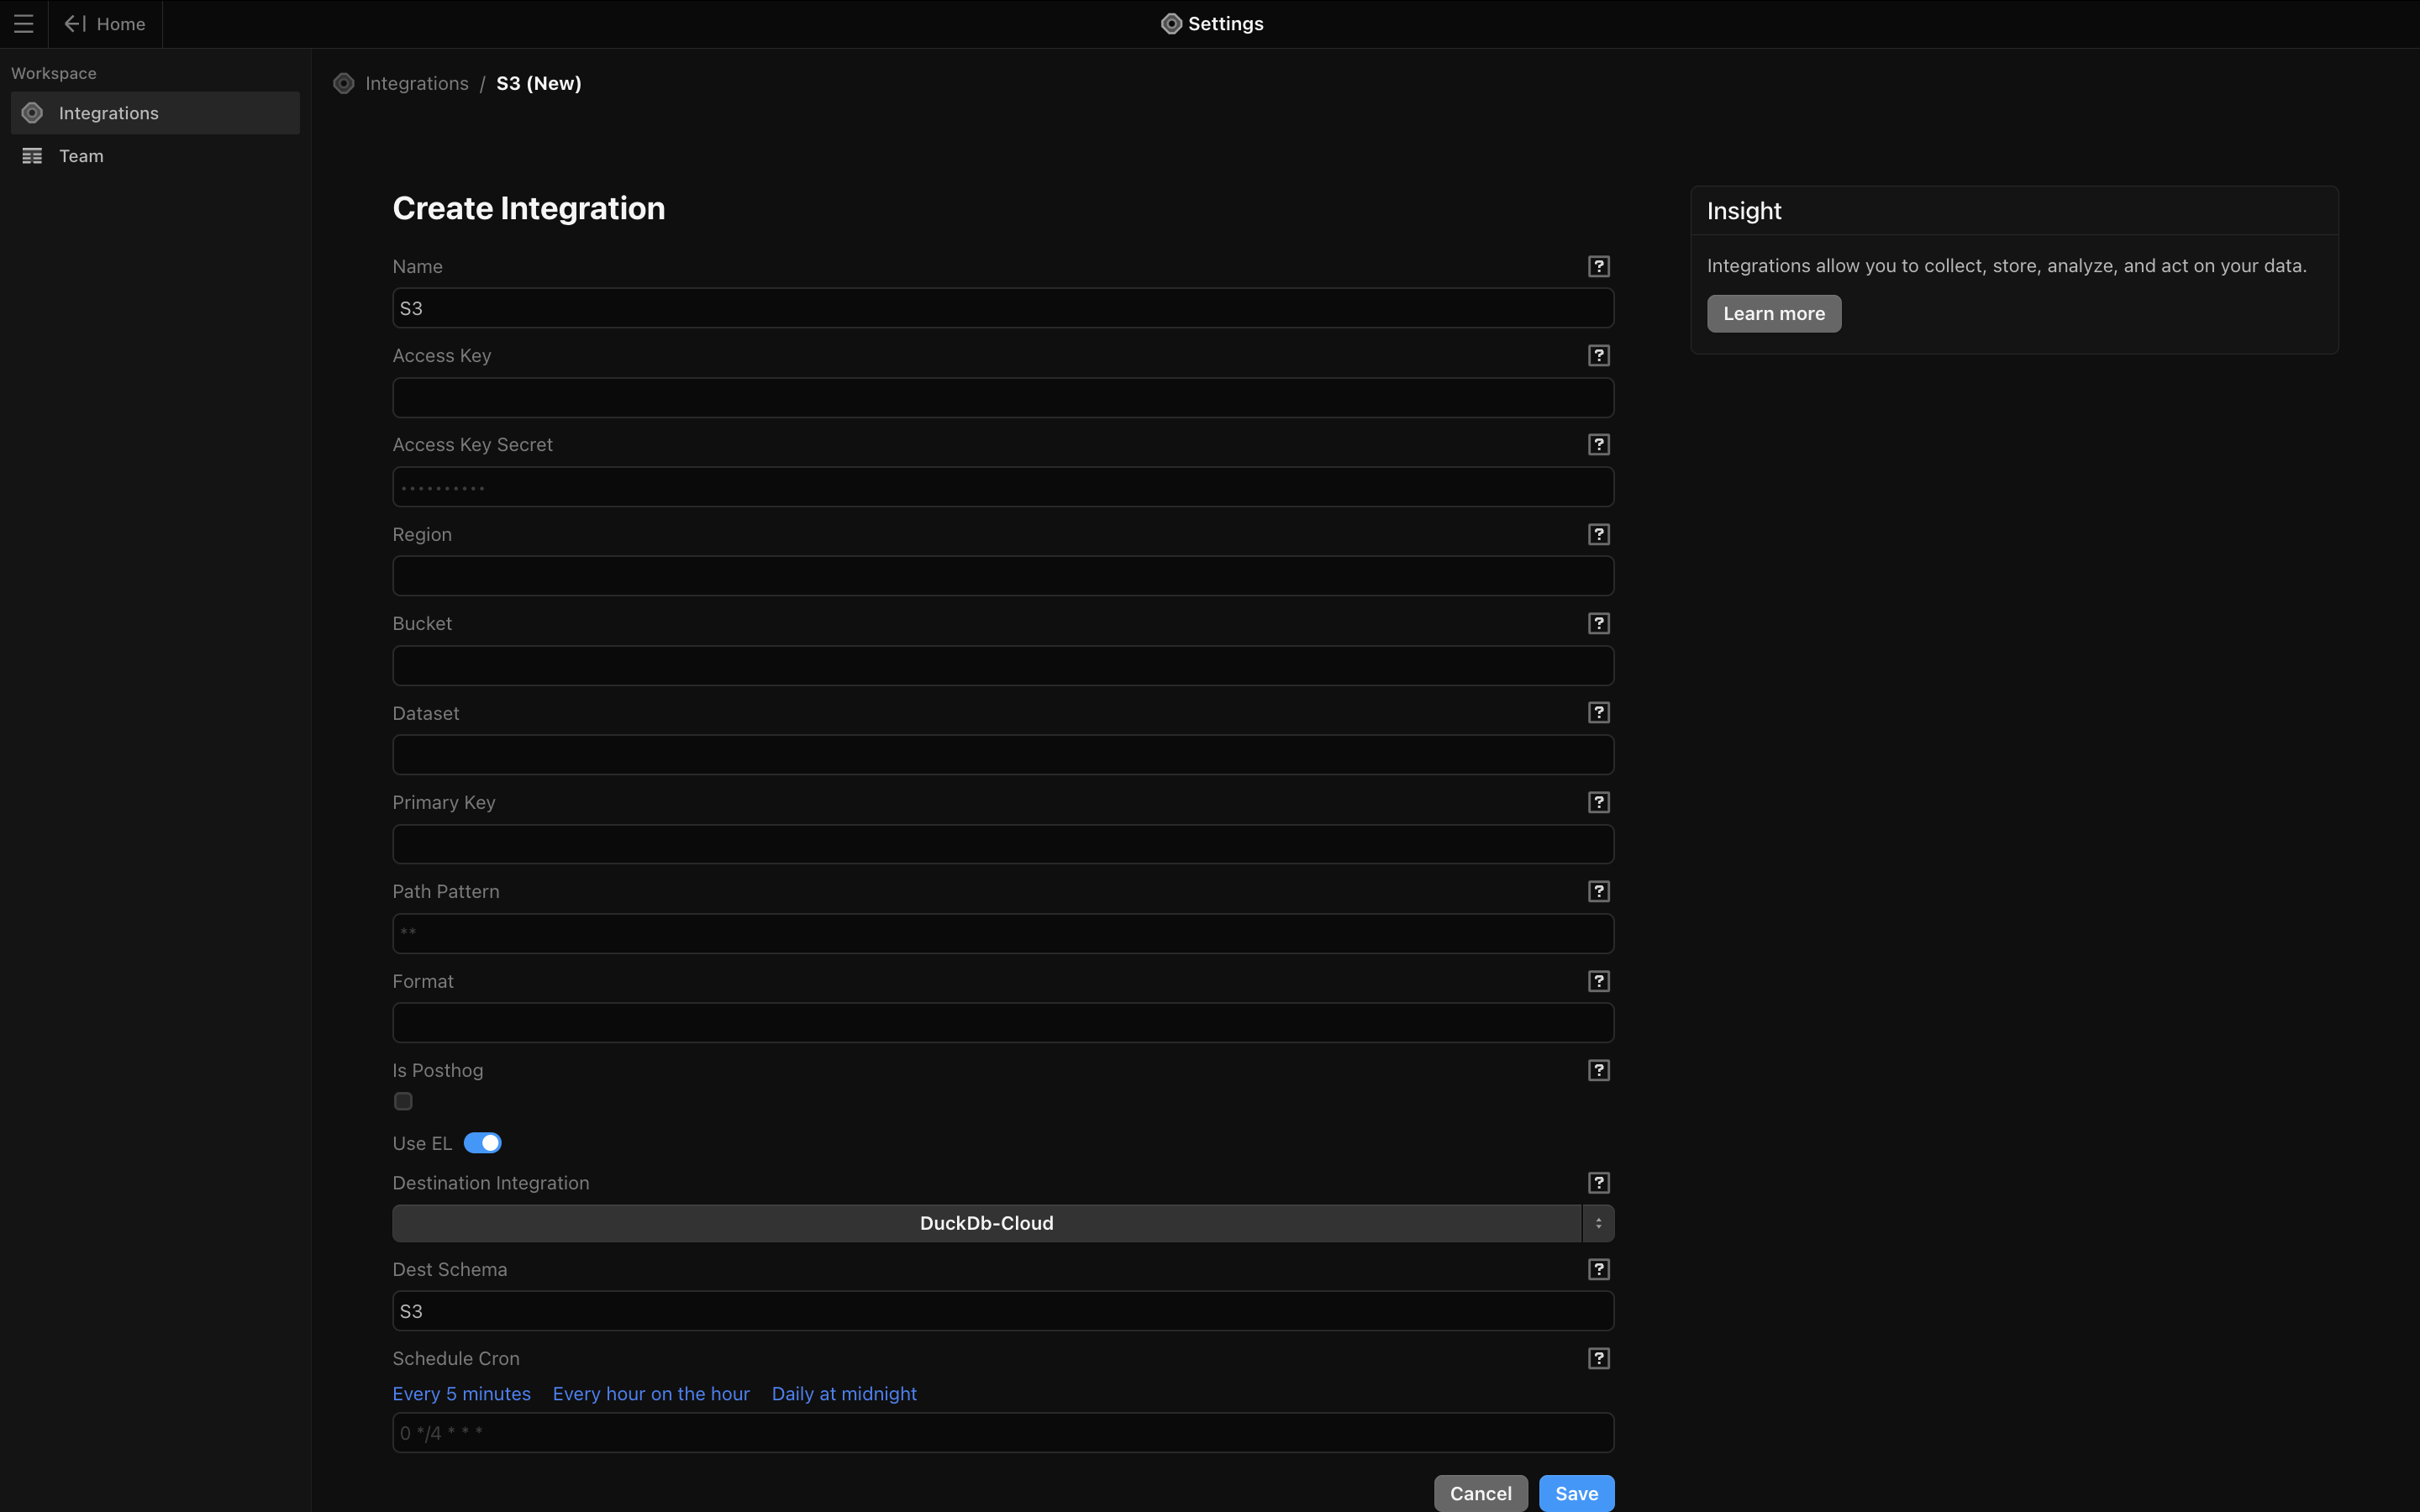
Name: Give your integration an easily identifiable nameAccess Key: paste in the AWS Access key from Step 7Access Key Secret: paste in the Secret access key from Step 7Region: region where the bucket is located written in xx-xxxxx-xx format (e.g. us-east-1 for US East (N. Virginia))Bucket: name of bucket containing the data you want to syncDataset: assign name to your datasetPrimary Key: optionalPath Pattern: optionalFormat: typejasonlSchedule Cron: Schedule for how frequently your data syncs. You can use the default of once a day at 5AM UTC (`0 5 * * *“) or you can set your own schedule. This tool is helpful in converting your desired timing to cron syntax.